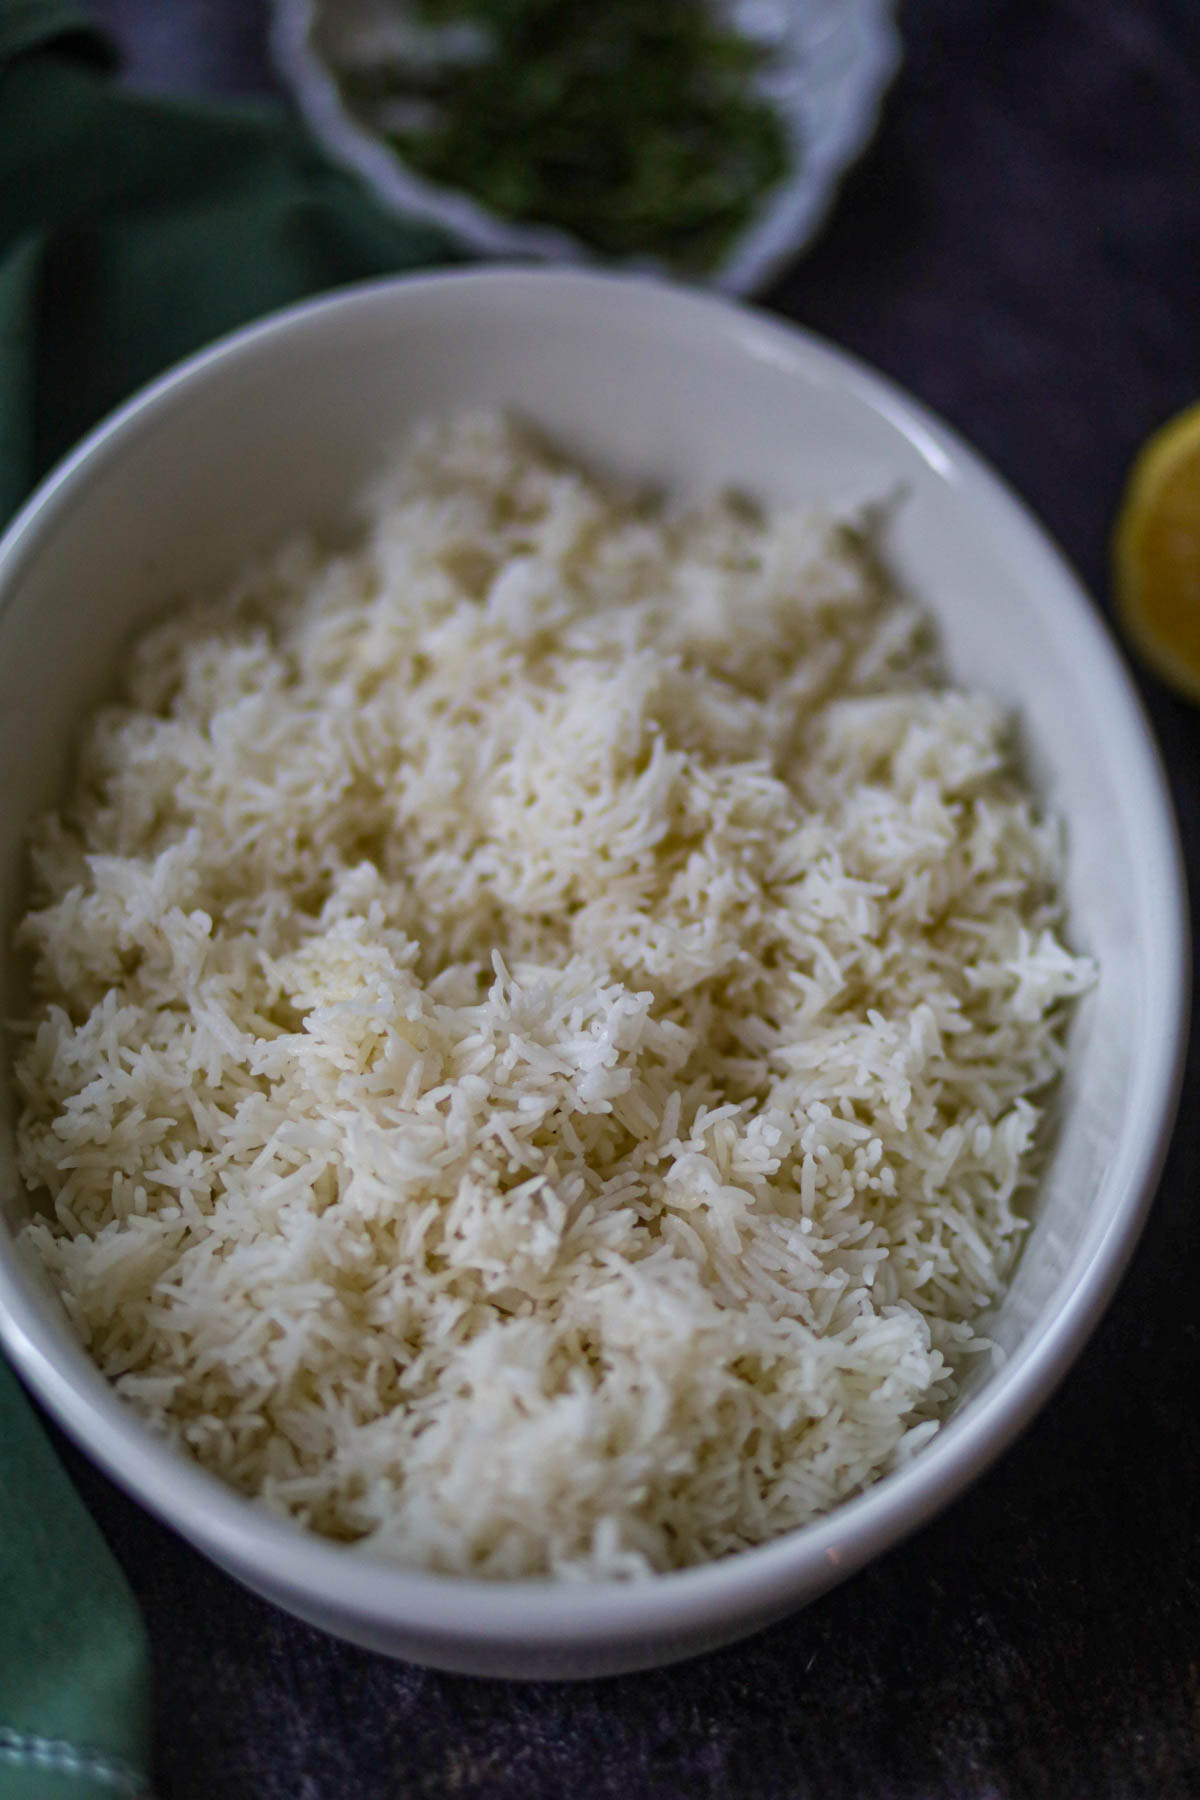
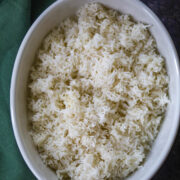
If you've been struggling to get instant pot basmati rice results that actually look like the picture on the bag, you are in the right place. We've all been there: opening the lid only to find a gummy block of rice or, even worse, the dreaded "Burn" signal.
The truth is, cooking basmati rice in the Instant Pot is actually easier than the stovetop—you have to ignore everything you know about traditional water ratios. Because the Instant Pot is a sealed system, we're using science to get that perfect "needle" grain every single time.
Quick Guide: The Perfect Batch
- The Ratio: 1 cup rice to 1 cup water (The Golden 1:1).
- The Setting: Manual/Pressure Cook (High) for 6 minutes.
- The Secret: A full 10-minute Natural Pressure Release (NPR).
- The Result: Restaurant-quality separate grains with zero effort.
If you're looking for something more vibrant, try my Instant Pot Chimichurri Rice next! Also, try my Chana Dal Pulao, a 1-pot dump-and-go recipe that comes together in under 30 minutes. For more Rice Recipes, click here.
Jump to:
- The 1:1 Logic: Why Your Stovetop Method is Ruining Your Rice
- The 60-Second Habit That Fixes Sticky Rice Forever
- Step-by-Step: Master Your Basmati Rice Instant Pot Technique
- Garima's Pro Tips for Restaurant-Quality Results
- The "Pro" Details Most Websites Miss
- 🔧 Troubleshooting: Fix Your Rice Based on What Went Wrong
- The "Burn" Signal Survival Guide
- What to Serve with Your Fluffy Masterpiece
- 🍛 Meal Ideas + How Much Rice to Cook
- 🔄 Easy Variations to Try Next
- FAQs
- Best to Pair With
- Perfect Instant Pot Basmati Rice
The 1:1 Logic: Why Your Stovetop Method is Ruining Your Rice
Most of us grew up learning the "2:1" rule, but under pressure, that's a recipe for mush. In a traditional pot, steam escapes into your kitchen. In the sealed environment of an Instant Pot, zero moisture is lost. To achieve proper starch gelatinization without the grains breaking down into a paste, we use a strict 1:1 ratio.
The 60-Second Habit That Fixes Sticky Rice Forever
Basmati is naturally high in starch, which is why it has the potential to stay so beautifully separate. However, surface starch is the enemy!
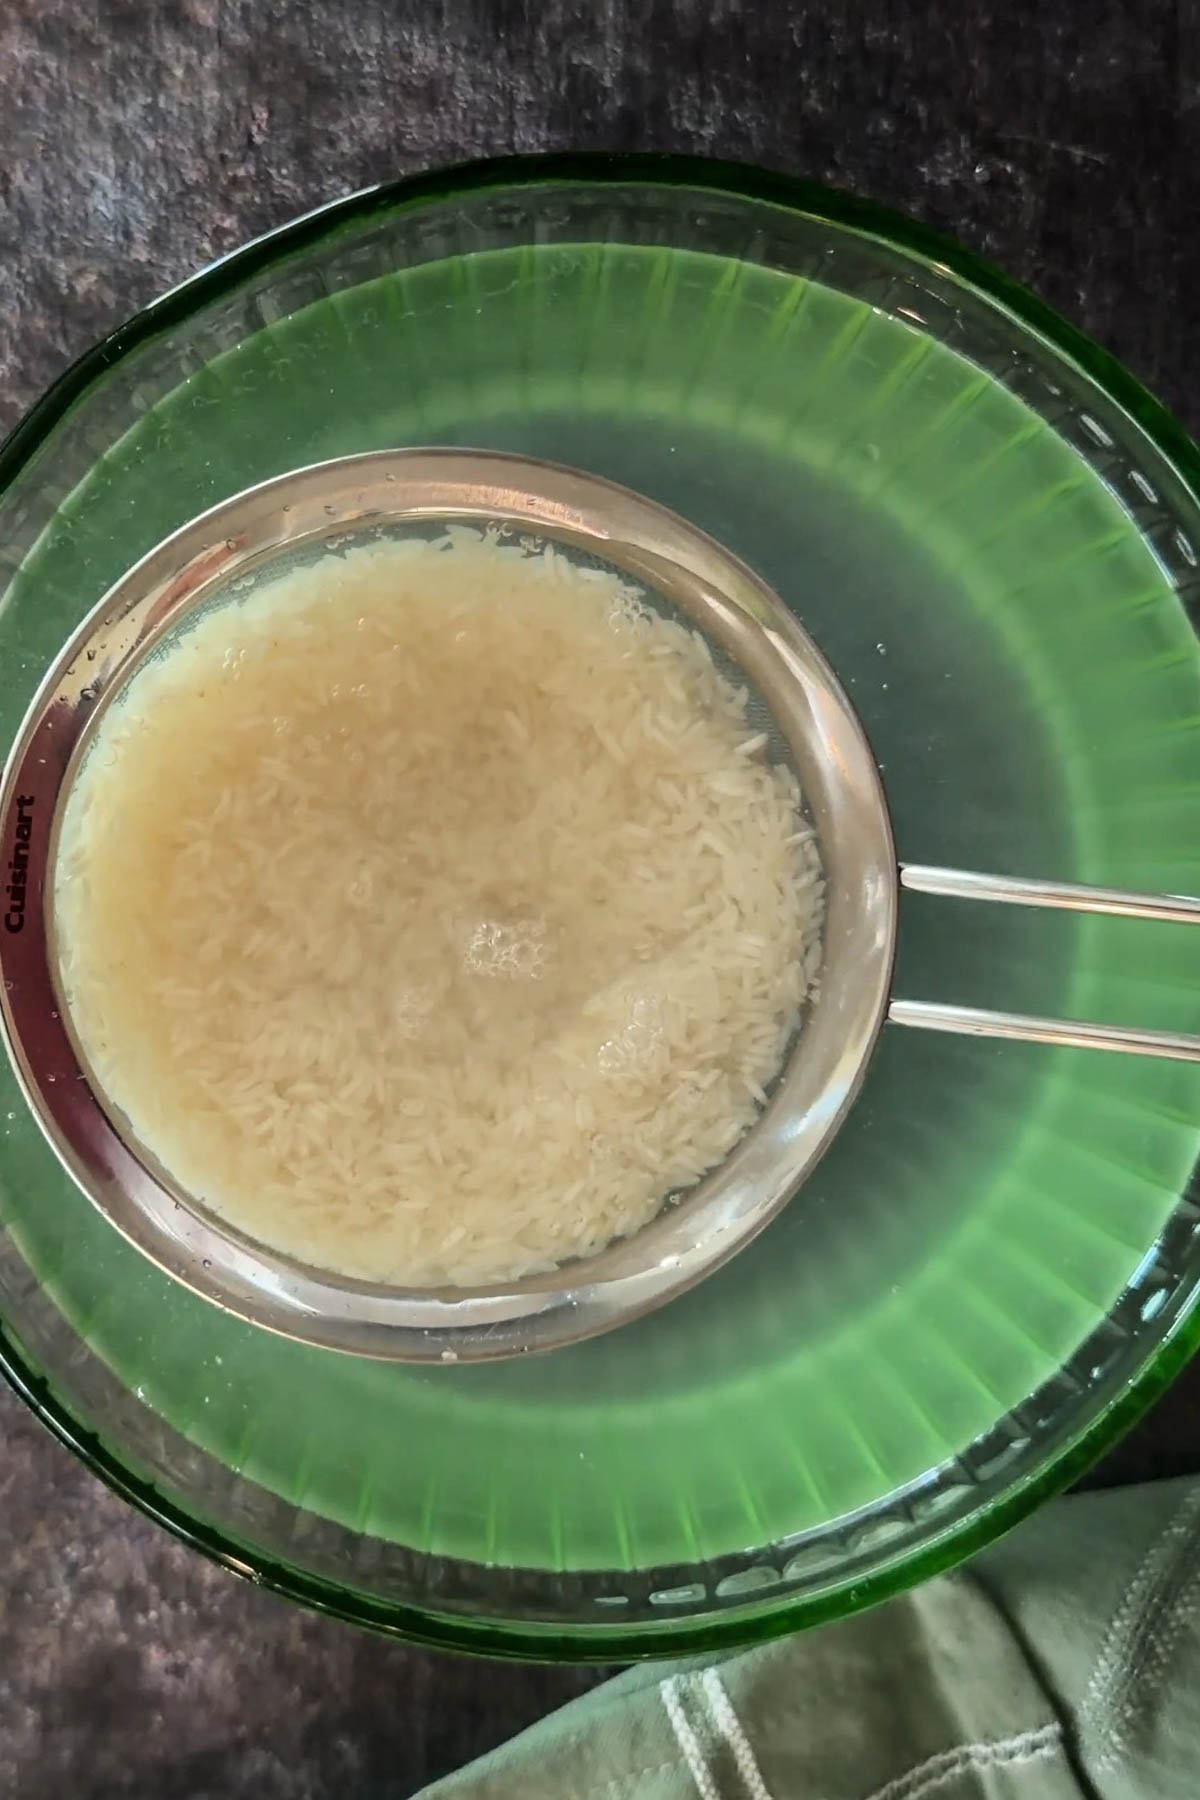
The Step: Place your rice in a fine-mesh sieve and rinse under cold water. At first, the water will look milky. Keep going until it is crystal clear. If you skip this, that surface starch will turn into "glue" the moment the pressure hits.
Step-by-Step: Master Your Basmati Rice Instant Pot Technique
- Step 1 - Rinse Rice: Rinse the rice thoroughly a couple of times until the water runs clear. You can also soak rice in water for 15-20 minutes (to remove excess starch).
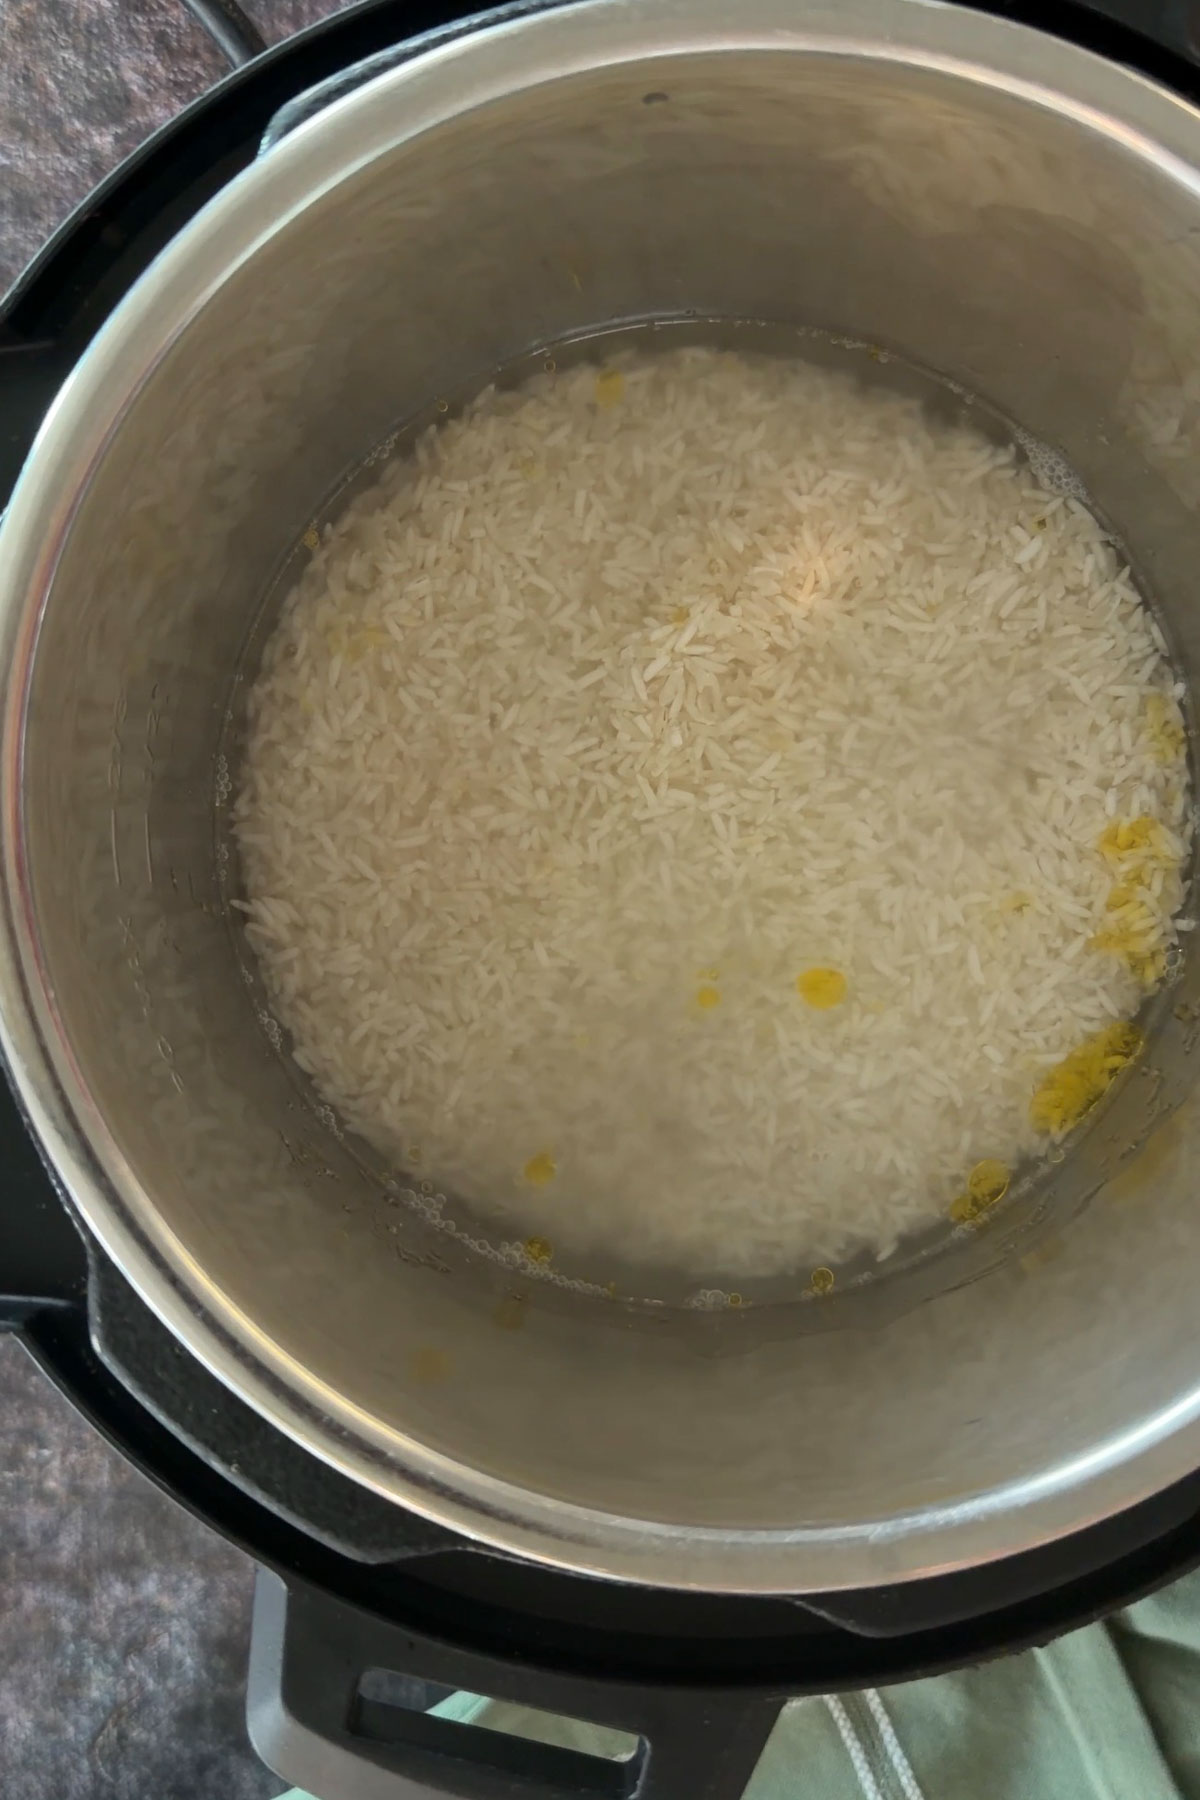
2. Step 2 - Add Your Ingredients: Pour the rinsed rice and water into the inner pot. Stir in 1 teaspoon of ghee or oil. This acts as an anti-foaming agent, keeping starchy bubbles away from your pressure valve. This is a lifesaver for beginners who want to avoid a messy cleanup!
- Check Your Equipment: Ensure your silicone sealing ring is tucked in tight and the valve is set to "Sealing."
- Set the Time: Select Manual/Pressure Cook (High) for 5 minutes.
- The 10-Minute Patience Test: When the timer beeps, do not touch that valve. Let the pot sit for 10 minutes of Natural Pressure Release (NPR). This allows the moisture to distribute evenly through the extra-long grain structure.
Garima's Pro Tips for Restaurant-Quality Results
If you want your rice to go from "good" to "how did she make this?", these are the small tweaks that make a massive difference:
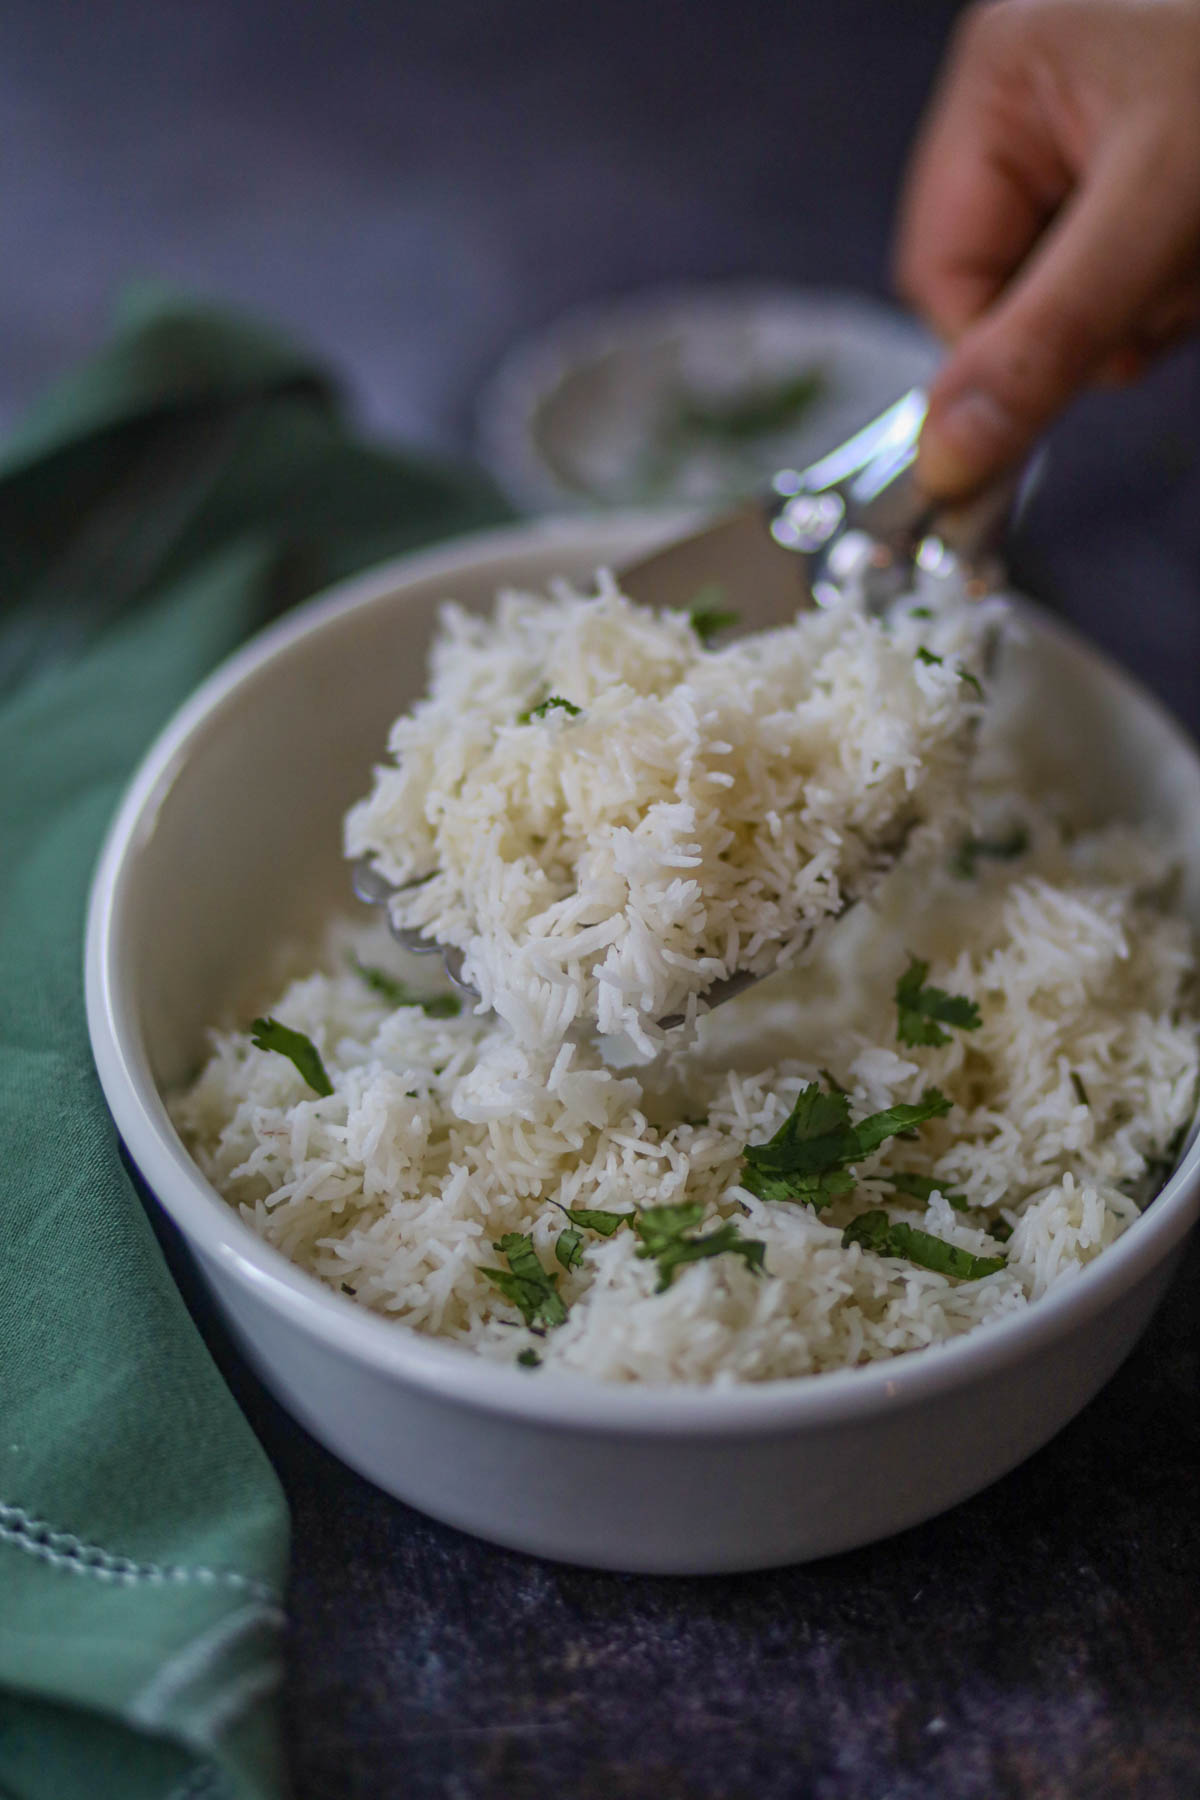
- The "Fork Fluff" Rule: Never, ever use a spoon or a paddle to stir your rice once it's done. A spoon will break and mash the delicate, long grains. Use a fork to gently lift and separate the grains from the outside in.
- The "Resting" Phase: Even after the 10-minute natural release, if you have the time, let the rice sit with the lid open for 2-3 minutes before fluffing. This allows the last bit of surface moisture to evaporate.
- Aromatic Upgrades: For a professional touch, sauté 1 teaspoon of cumin seeds (Jeera) in ghee directly in the pot using the "Sauté" mode for 30 seconds before adding your rice and water.
- Start Cold: Always start with cold tap water. Using hot water messes with the Instant Pot's internal timer, which can lead to undercooked, crunchy centers.
The "Pro" Details Most Websites Miss
- Aged vs. New Crop: If your rice is "New Crop," it holds more internal moisture. Use 1-2 tablespoons less water. If it's high-quality "Aged 2 Years" rice (which is drier), stick to the strict 1:1. Interestingly, studies have found that Basmati rice from India, Pakistan, or California contains the lowest levels of total inorganic arsenic
among all tested rice varieties. - Altitude Adjustments: If you live at a high altitude, increase your cook time to 7 or 8 minutes. The lower boiling point means the rice needs a little more time to fully soften.
- Pot-in-Pot (PiP) for Small Batches: Trying to cook just ½ cup of rice? To avoid the "Burn" error, put the rice and water in a stainless steel bowl on a trivet, and add 1 cup of water to the main pot.
🔧 Troubleshooting: Fix Your Rice Based on What Went Wrong
If your rice didn't turn out perfect, here's exactly how to diagnose it:
- Too soft or broken grains: If rice turned out too soft or is broken, then reduce the cooking time and fluff with a fork instead of a ladle.
- Grains clump together after cooking. Let the rice rest for 5 minutes, then fluff with a fork.
- Water is left at the bottom: Slightly reduce the water next time, or increase the natural pressure release time.
- Dry on top but wet underneath: If rice looks a little dry on top, stir gently after cooking and let it sit, covered, for a few minutes.
👉 Small adjustments make a big difference once your base method is correct.
The "Burn" Signal Survival Guide
If your pot screams "Burn," don't panic—and definitely don't throw the whole pot out the window! It usually means a bit of starch was stuck to the bottom from a previous step, or your sealing ring wasn't on right.
Quick Fix: Vent the steam, open it up, add 2 tablespoons of water, scrape the bottom with a wooden spoon to loosen any stuck bits, and try again. You've got this!
What to Serve with Your Fluffy Masterpiece
Your Instant Pot batch of basmati rice is the perfect base for high-protein vegetarian meals. I love pairing this with:
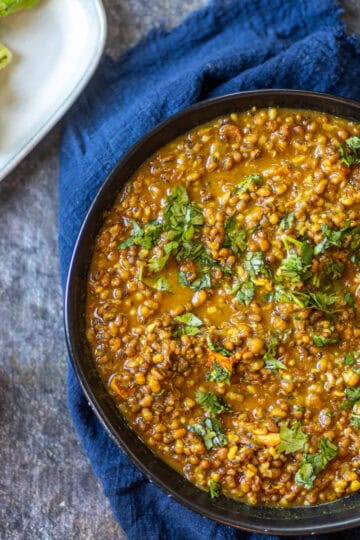
- The Ultimate Comfort Pair: Serve this fluffy rice alongside my Instant Pot Dal Makhani for a restaurant-style experience at home.
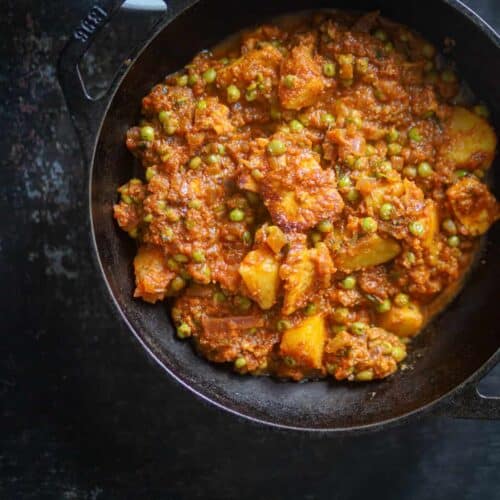
- The Weeknight Winner: This rice is the perfect base for soaking up the sauce in my Easy Matar Paneer.
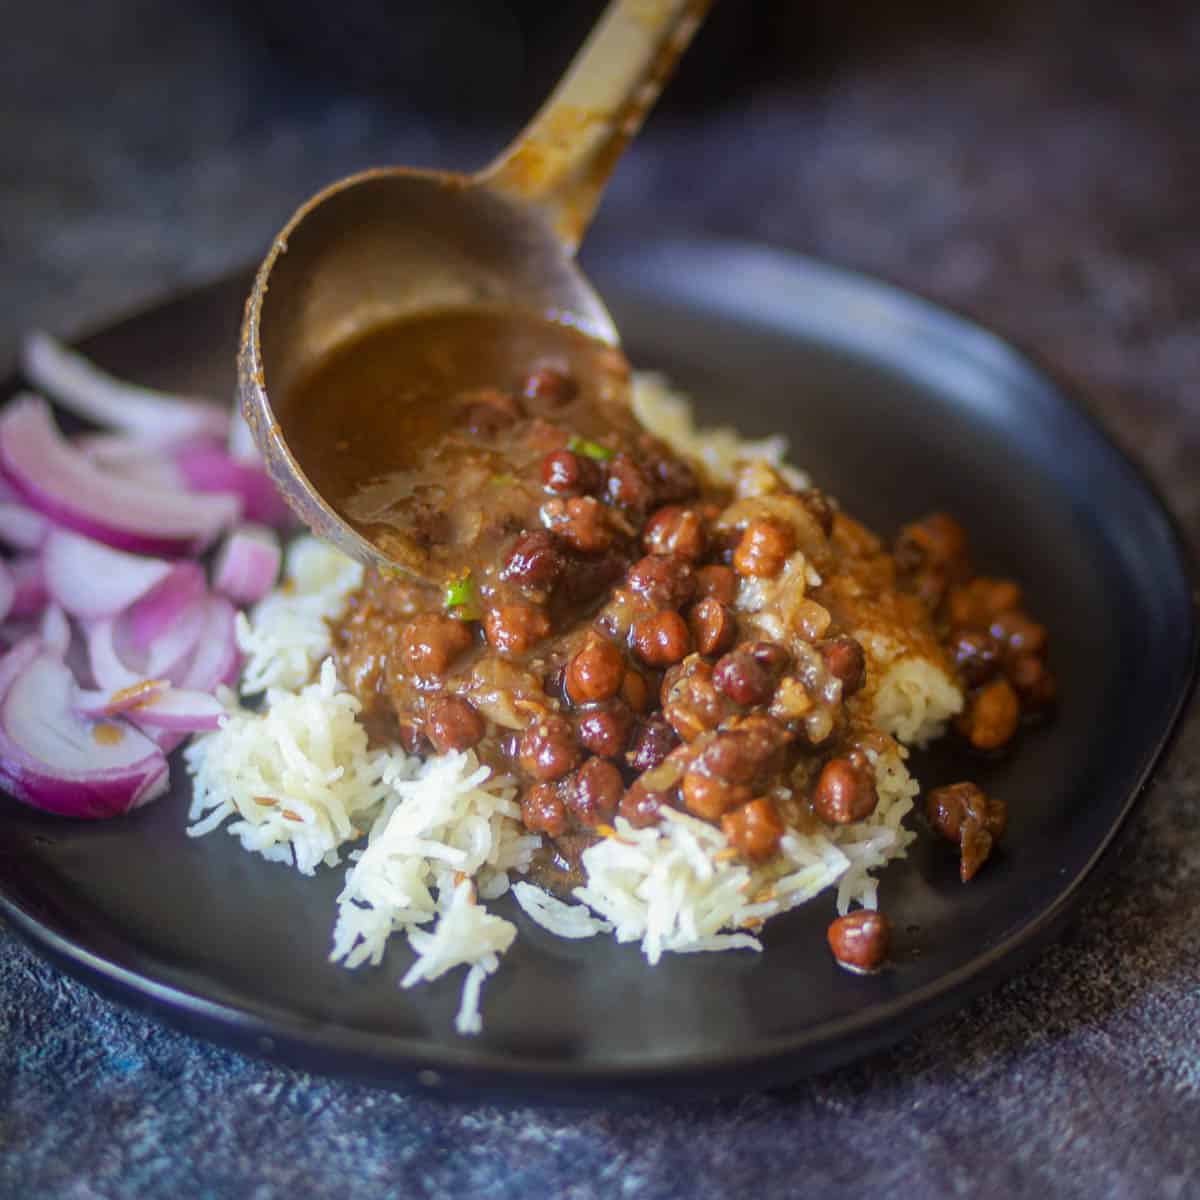
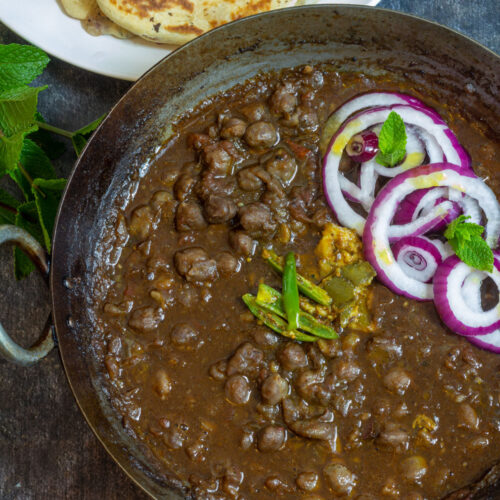
- A High-Protein Feast: Looking for a hearty vegan option? Pair this with Delhi Style Chole.
- Paneer-Based Dishes: Goes great with any Paneer Recipe for extra protein.
🍛 Meal Ideas + How Much Rice to Cook
Planning your meal? Here's a simple guide to get the right quantity every time:
- For 2 people: Use 1 cup dry rice → yields about 3–4 cups cooked.
- For 4 people: Use 2 cups dry rice → same 1:1 ratio, same cooking time.
- For meal prep: Make 2–3 cups of dry rice and store portions for the week.
🥗 Easy Meal Ideas
- Quick dinner: Pair rice with dal or paneer for a balanced meal.
- Lunch bowls: Add roasted veggies + protein (tofu, chickpeas, paneer).
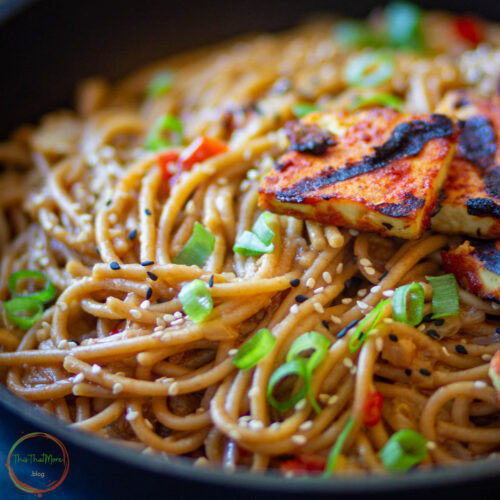
- Leftover idea: Use cold rice for fried rice like Pineapple Fried Rice or Kimchi Fried Rice, or for a stir-fry like Vegan Jambalaya the next day.
💡 Tip: Let the rice cool completely before storing to keep the grains separate and fluffy.
🔄 Easy Variations to Try Next
Once you’ve mastered this basic method, try these variations:
- Jeera Rice (Cumin Rice) – a simple upgrade with ghee and cumin seeds (coming soon)
- Brown Rice (Instant Pot) – requires more water and longer cooking time. Try this brown rice recipe in the Instant Pot.
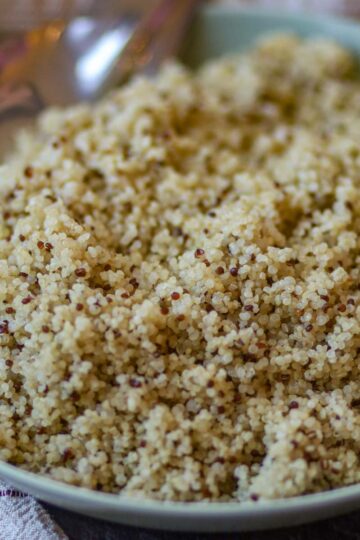
- Quinoa (Instant Pot Method) – a great high-protein alternative. Try this foolproof method of cooking Quinoa in an Instant Pot.
👉 I'll be linking full recipes for each of these soon.
FAQs
Honestly? I wouldn't. The "Rice" button on most Instant Pots is a sensor-based program designed for standard white long-grain rice. Basmati is more delicate and behaves differently. For that perfect restaurant-style "needle" grain, the Manual/Pressure Cook setting gives you the control you need.
To prevent foodborne illness, it is crucial to follow proper food safety steps for rice, specifically cooling and refrigerating leftovers within two hours. You can, but don't leave it there for hours. Rice can grow bacteria (Bacillus cereus) if kept at lukewarm temperatures for too long. Plus, the "Keep Warm" setting will eventually dry out the bottom layer of your beautiful rice.
This usually happens for two reasons: you’re at a high altitude (which requires an extra minute or two), or your "1 cup" of rice was actually a "heaping cup." Always level off your measuring cup! If it's still crunchy, add 2 tablespoons of water, seal it, and let it sit on "Keep Warm" for 5 minutes—the steam usually finishes the job.
Yes! In addition to being naturally gluten-free, Basmati is a great choice for meal prepping. It is unique because it typically has a lower glycemic index than most other varieties of white rice. This means it's digested more slowly, providing a more stable energy release rather than a quick blood sugar spike.
Yes! You can scale the recipe up or down while keeping the same 1:1 rice-to-water ratio. The cooking time remains the same in the Instant Pot.
Best to Pair With
- INSTANT POT LENTIL AND QUINOA PROTEIN BOWL (One-Pot Recipe)
- SPICED CARROT & LENTIL SOUP
- GREEN MOONG DAL RECIPE
- KALA CHANA CURRY (BLACK CHICKPEAS CURRY)


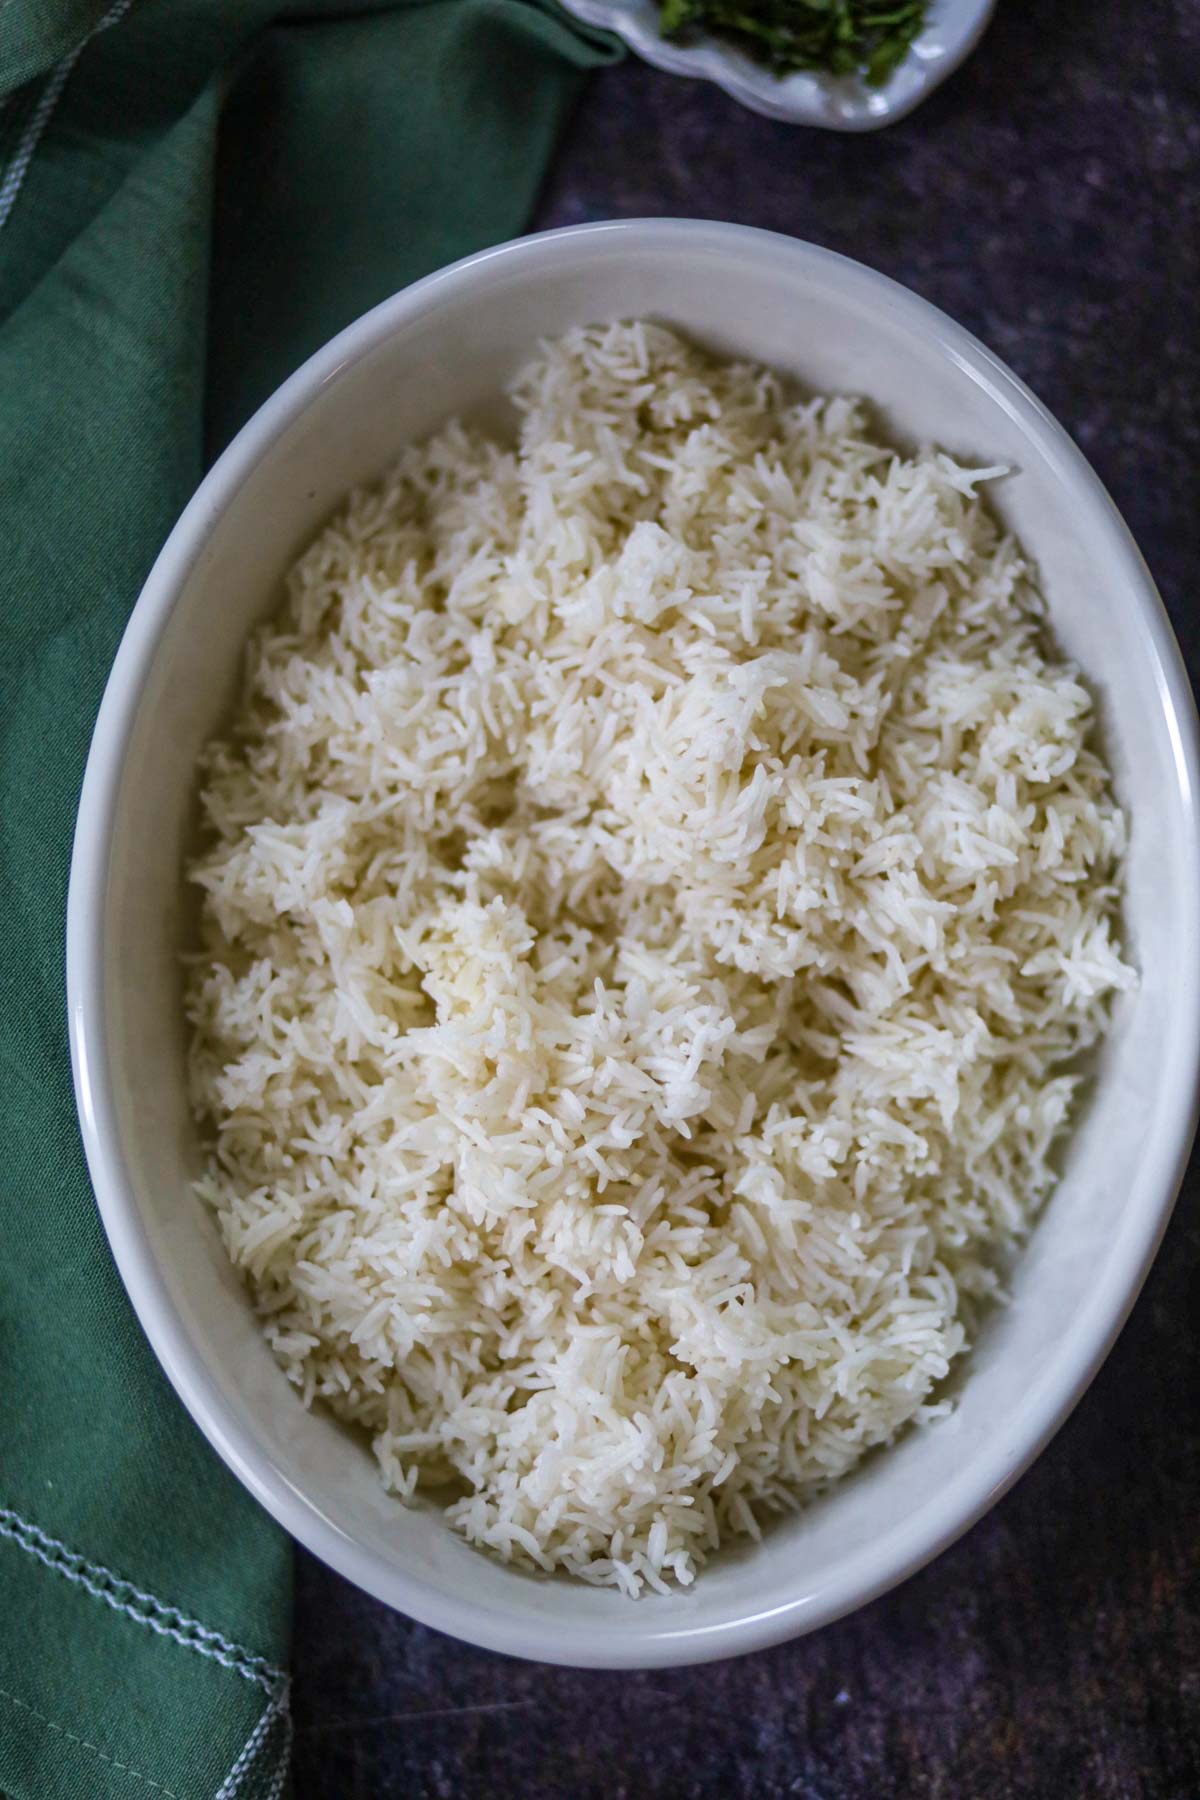
Perfect Instant Pot Basmati Rice
Video
Ingredients
Equipment
Method
- Rinse the Rice: Place the rice in a fine-mesh strainer and rinse under cold running water for about 60 seconds. Massage the grains gently with your fingers until the water running through the bottom is completely clear. Drain well.1 cup Basmati Rice high-quality aged rice preferred, like Royal or Tilda

- Combine: Add the rinsed rice, 1 cup of water, salt, and ghee (or oil) into the Instant Pot inner steel pot. If using aromatics like cardamom or bay leaf, toss them in now.1 cup Water or vegetable broth for more flavor, 1 teaspoon Ghee or Oil, ¼ teaspoon Salt adjust to taste, 1 cup Basmati Rice high-quality aged rice preferred, like Royal or Tilda
- Level it Out: Give it one quick stir to ensure no grains are stuck to the sides above the water line. Ensure the rice is submerged in an even layer.
- Pressure Cook: Close the lid and turn the steam release valve to the Sealing position. Select Manual or Pressure Cook on High Pressure and set the timer for 5 minutes.
- Natural Release: When the cooking time is up, let the pressure release naturally for 10 minutes (the display will read L0:10). Do not open the lid early!
- Vent and Fluff: After 10 minutes, turn the valve to Venting to release any remaining steam. Open the lid carefully.
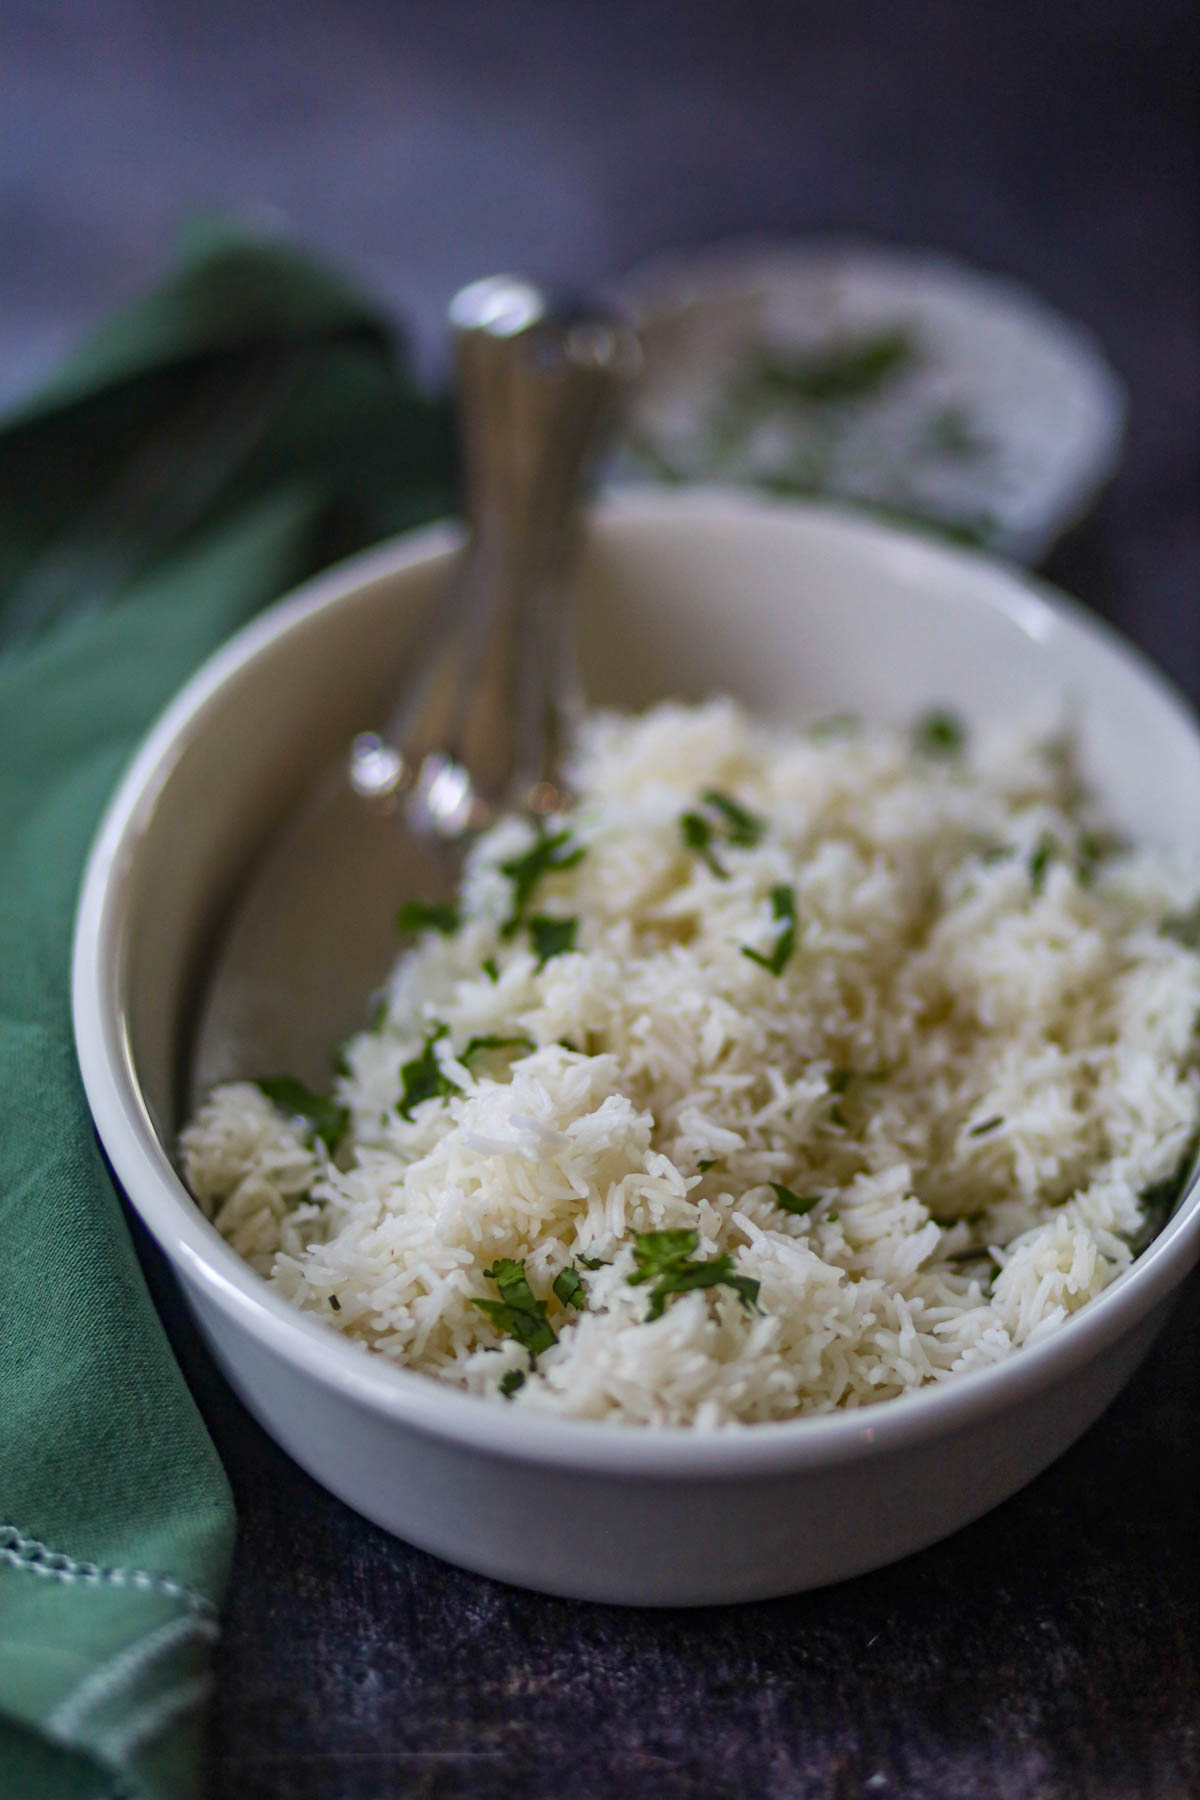
- The Final Touch: Use a fork to gently fluff the rice. Let it sit for 2 minutes uncovered to allow excess moisture to escape before serving.


Notes
- The 1:1 Rule: This recipe uses a 1:1 volume ratio. If you double the recipe (2 cups rice), use exactly 2 cups of water. The cook time remains the same.
- Soaking: If you choose to soak your rice for 20 minutes beforehand, reduce the water in the recipe by 2 tablespoons to prevent mushiness.
- Storage: Store leftovers in an airtight container in the fridge for up to 4 days. Reheat with a splash of water to restore moisture.
- Burn: If your Instant Pot gives a 'Burn' warning. Release steam, open the lid. Add 2-3 tablespoons of water and repeat the process.
Nutrition
Tried this recipe?
Mention @chopthegreens or tag #chopthegreens!Get my kitchen fails, 'aha' moments, and brand-new recipes every Wednesday. Gimme the recipes!


Christina says
Very easy to make ! And finally they are not sticky or half cooked 🍚