Homemade Paneer is so easy to make and tastes way better than a store-bought one. It is made by curdling the milk using Lemon Juice or Vinegar and then separating the milk solids from the leftover whey.
Homemade Paneer is not only great in flavor & texture but also free of any additional preservatives. So I prefer to make my own homemade Paneer. Moreover, you can also choose which milk to use for making homemade Paneer.
If you are vegetarian and an Indian, then this is one food item you cannot avoid or cannot live without. I make paneer almost every alternate day or after 2-3 days.
. (Check out my awesome paneer recipes.)Now that you know how to make paneer from scratch, try these delicious paneer curry recipes, wraps, bowls, and tikka ideas.
With Paneer, making food is really simple for me. If there is anything special (like a Birthday, or Anniversary, or Dinner), Paneer is always the center point of the menu. Sometimes when I can't decide what to make, then I end up making something with paneer. If I want something simple but tasty, then also Paneer is the winner.
I haven't seen anyone who doesn't like Paneer. Either Vegetarian or Non-Vegetarian, everyone loves Paneer dishes like Palak Paneer, Kadai Paneer, Matar Paneer, etc.
You can make any other type of Cheese in an Instant Pot. If you want to check the recipe for Mozzarella Cheese, CLICK HERE.
WHAT IS PANEER?
Paneer is Indian Cottage Cheese made of milk curdled using food acid (like lemon juice, vinegar, curd, etc).
Homemade Paneer is:
- Unsalted
- Not fermented or processed
- Soft & firm
- Doesn't require any Rennet (animal or plant-based)
- Vegetarian
- Protein-Rich
THINGS YOU'LL NEED FOR MAKING HOMEMADE PANEER
- MILK: It's best to use Whole Milk. Whole Milk Paneer results in a more soft texture. If you use 2% or any other low-fat milk, then it'll result in a small quantity of paneer and also texture won't be that good.
- FOOD ACIDS: You can use vinegar, lemon juice, curd, buttermilk, or citric acid as food acids. They will help in curdling the milk and leaving coagulated milk solids. I have personally used vinegar and lemon juice for making paneer. But I heard people use other forms of food acids too.
- ICE CUBES: Not many use ice cubes for making paneer. But adding ice cubes after milk is curdled will result in softer paneer and also helps in stopping the cooking process. It will be softer and firm and you can mold it in any shape you like.
- MUSLIN CLOTH: Once the milk is curdled and you get coagulated milk solids. Then you need Muslin Cloth to separate coagulated milk solids from the whey and to remove any excess liquid.
- WEIGHT: Once all the liquid is removed by squeezing the muslin cloth, put paneer wrapped in the muslin cloth on a plate. Add some extra weight on it, so that all the remaining water will be removed (if left).
TIPS TO REMEMBER TO MAKE SOFT PANEER AT HOME
- If you want to know how to make soft paneer at home, then here's the secret. Use full cream or whole milk. This will yield in softer pieces. If you use toned or skimmed milk, Paneer will be less in quantity and will not be that soft in texture.
- You can use vinegar, lemon juice, curd, buttermilk, citric acid, etc to curdle the milk.
- After the milk is curdled and you see coagulated milk solid, don't forget to wash in water. This will remove the flavor of food acids (if any) from the paneer. Otherwise, if you don't wash it properly, later you might find paneer tangy and it won't go so great in the curries.
- Once you see milk is crudled, add some ice cubes in it. This will not only stop the cooking process but also will make paneer soft.
- Make sure all the whey is removed properly before you keep it for settling. I always hang my paneer for at least 30 minutes, so that all the whey is drained out.
- Don't overcook or over boil the milk otherwise, paneer will turn out hard.
- When making in stove-top, add food acids once the milk has come to boil. That way you'll get nice & soft paneer cubes.
- Once paneer has settled, you can store in the refrigerator. Place the paneer in a bowl and cover it with water. This way it will not become hard.
HOW TO CONSUME LEFTOVER WHEY
The greenish colored liquid that you see after milk is curdled is Whey. It s filled with essential nutrients & proteins. You can use it in any recipe that requires liquid. I use Whey in making Roti/ Chapatti dough, for boiling lentils, etc. This liquid will be a little tangy because of the presence of food acids in it, so do adjust the flavors by keeping this in mind. Store in the refrigerator for a week and use as needed.
HOW TO MAKE HOMEMADE PANEER
Boiling:

1 
2

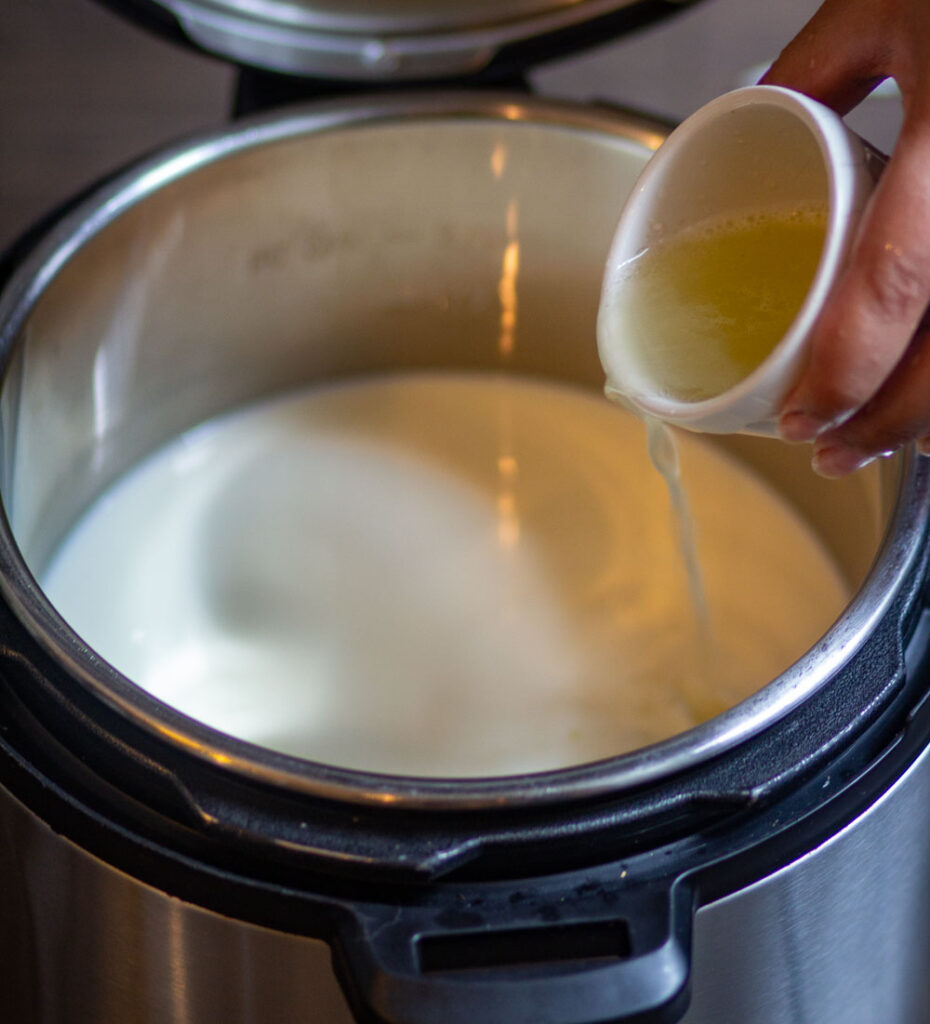
- So, let's start learning how to make paneer at home. First of all, add whole milk or full-fat milk in the Instant Pot. It's better to use whole milk as you will get more Paneer out of it and it will be softer too.
- Add food acids (like lemon juice, vinegar, curd, etc) in the milk. They will curdle the milk. Add food solids in the milk and close the lid.
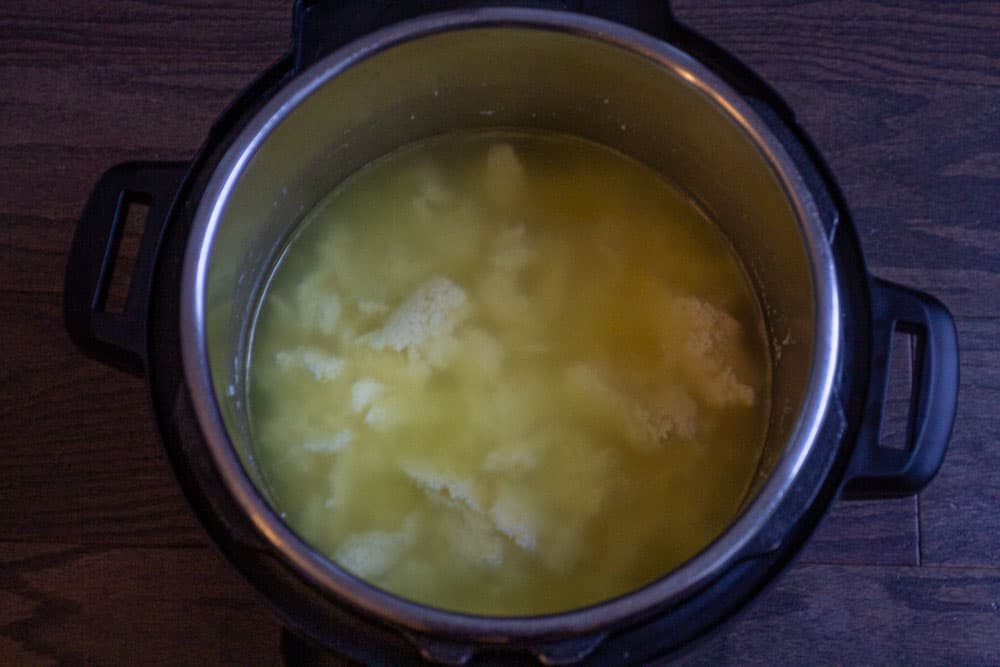
- Pressure cook for 2 minutes at High-Pressure level. You will see greenish liquid (whey) with coagulated milk solids in it.
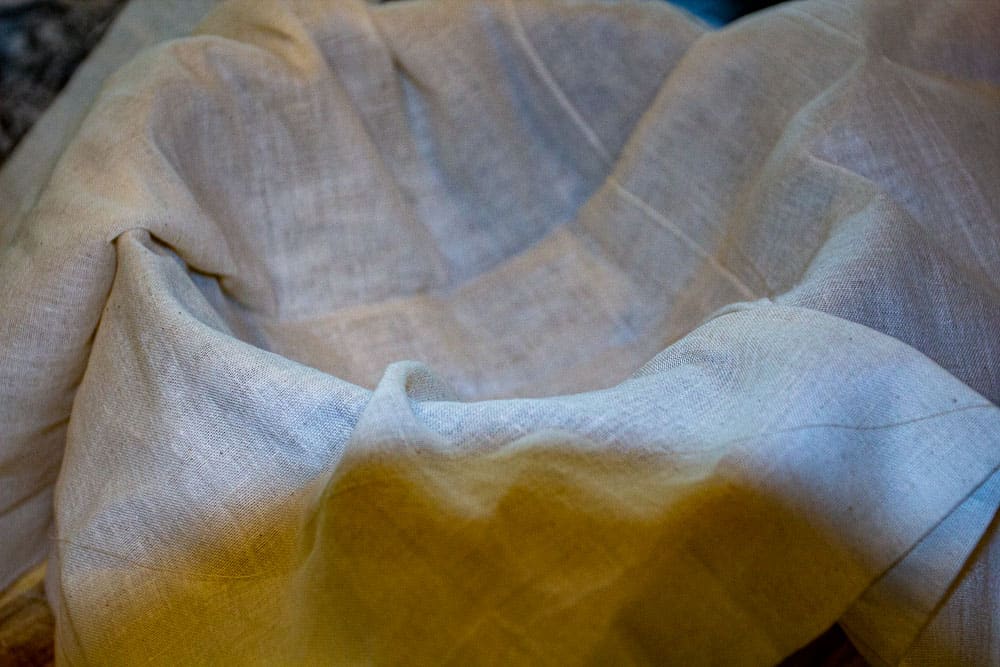
- Take a bowl and place a strainer on the bowl. And line the strainer with the muslin cloth. This way whey will get separated from the milk solids.
- Once the timer beeps, NPR for 5 minutes and then Quick Release. Open the lid and add in the ice cubes to stop the cooking process.
3 4 5
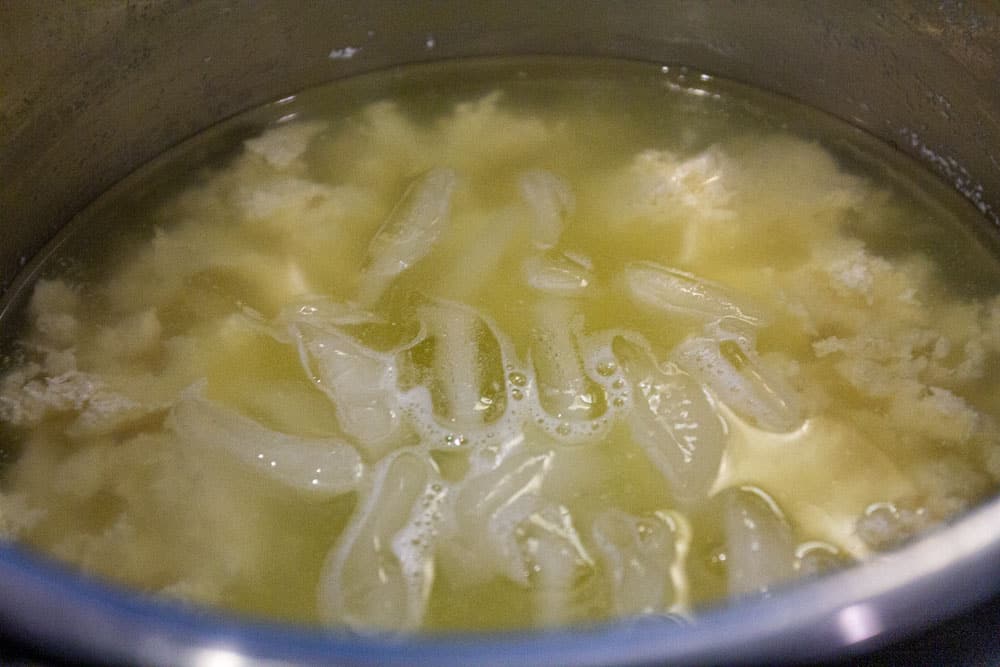
Straining:
- Pour the mixture in the strainer lined with the muslin cloth.
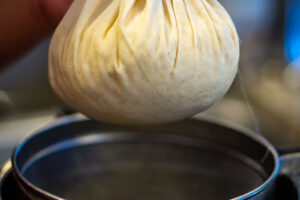
- Carefully take all the corners of the muslin cloth together, this way liquid will be strained. Then rinse it in the water a couple of times and squeeze all the water out.
- Then put it back in the strainer and leave it for 15- 20 minutes, so that any excess liquid (if left) will drain out.

6
7 
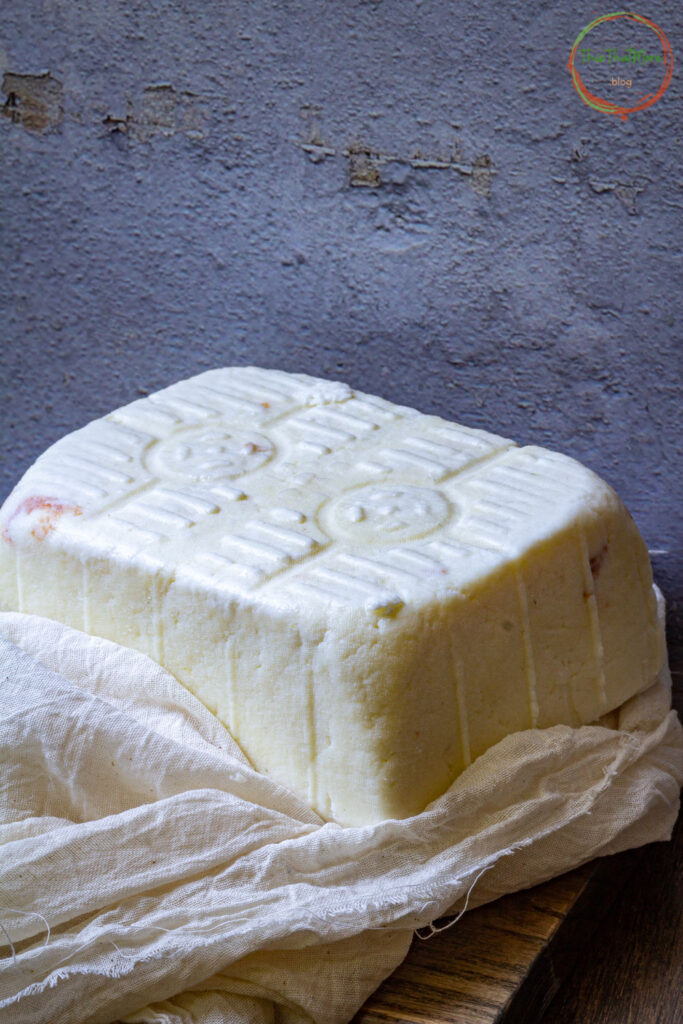
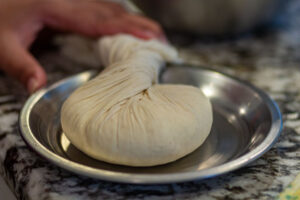
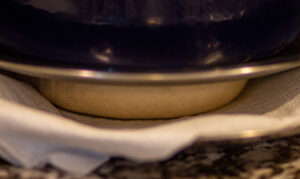
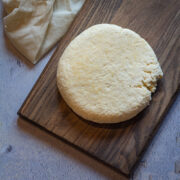
8 - Secure all the edges together and transfer in a plate and form round shape. Put a heavy utensil over the muslin cloth to settle the Paneer. I have used cast iron and put a heavy mortar pestle in it. You can fill the pot with water and put it over the muslin cloth to set the paneer. Allow it to sit for 2-3 hours.
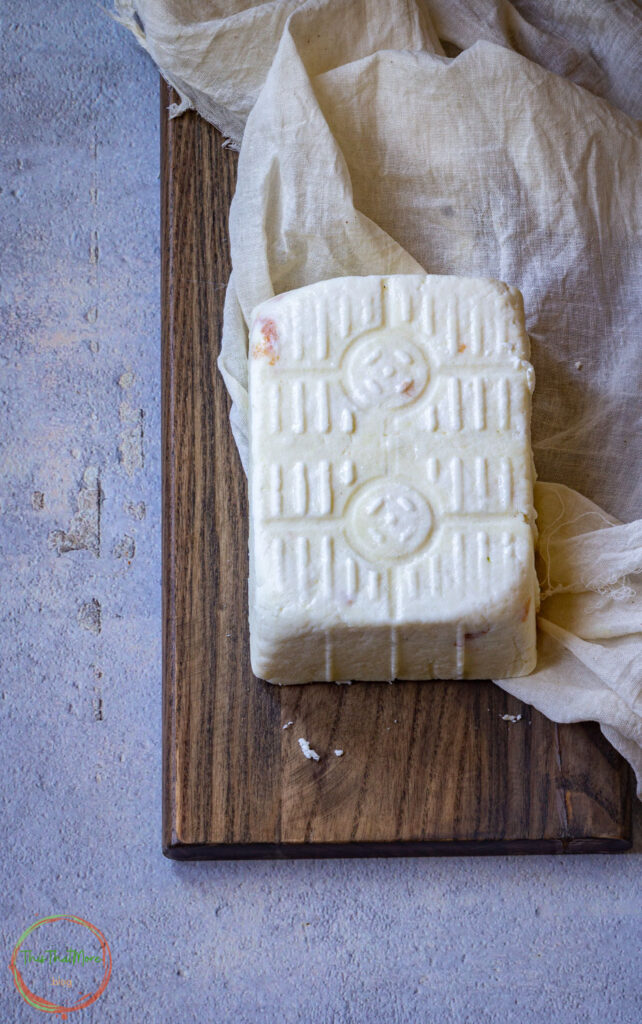
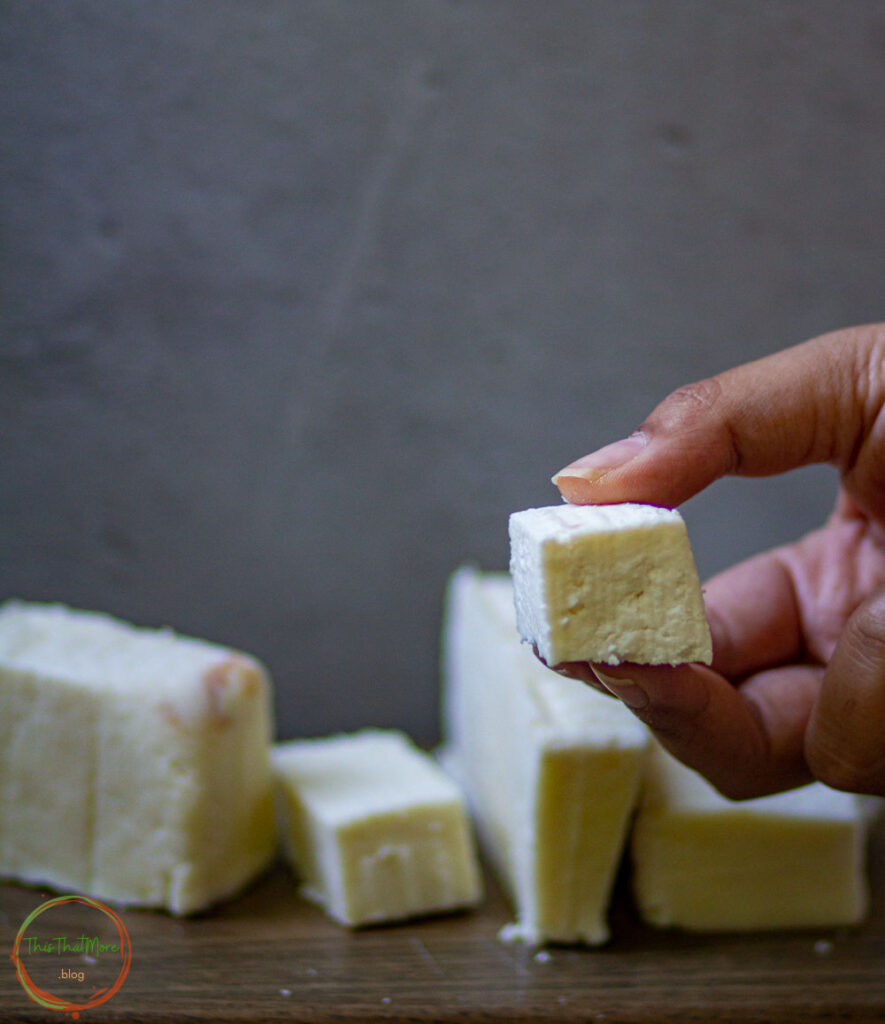
- Remove the cloth and you will get a round block of paneer. It's normal if the block of paneer has a little dent.
HOW TO STORE HOMEMADE PANEER
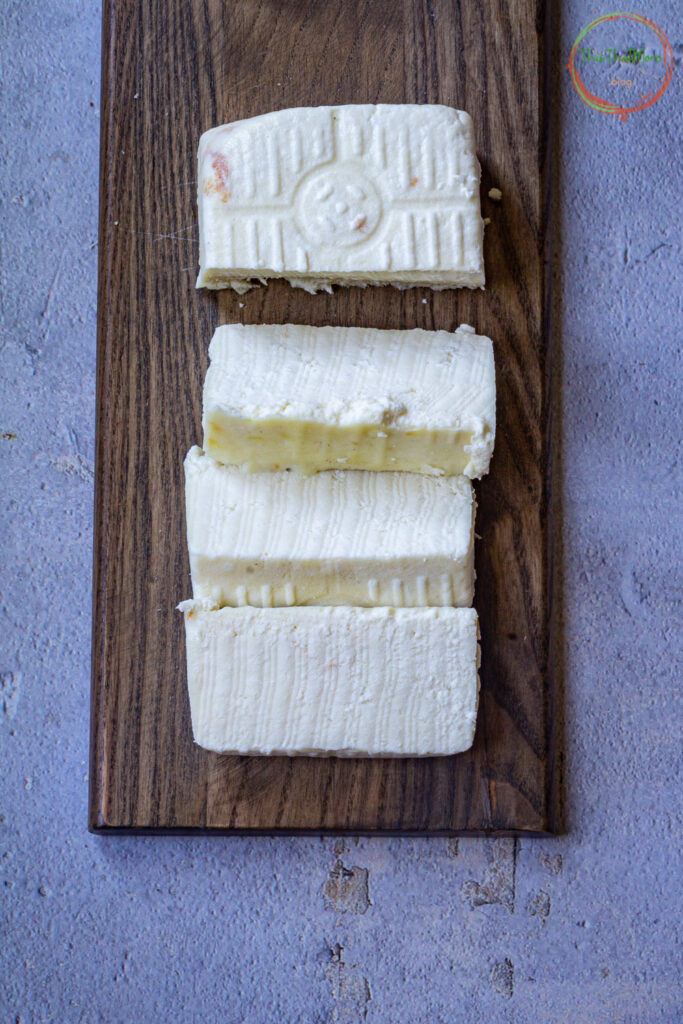
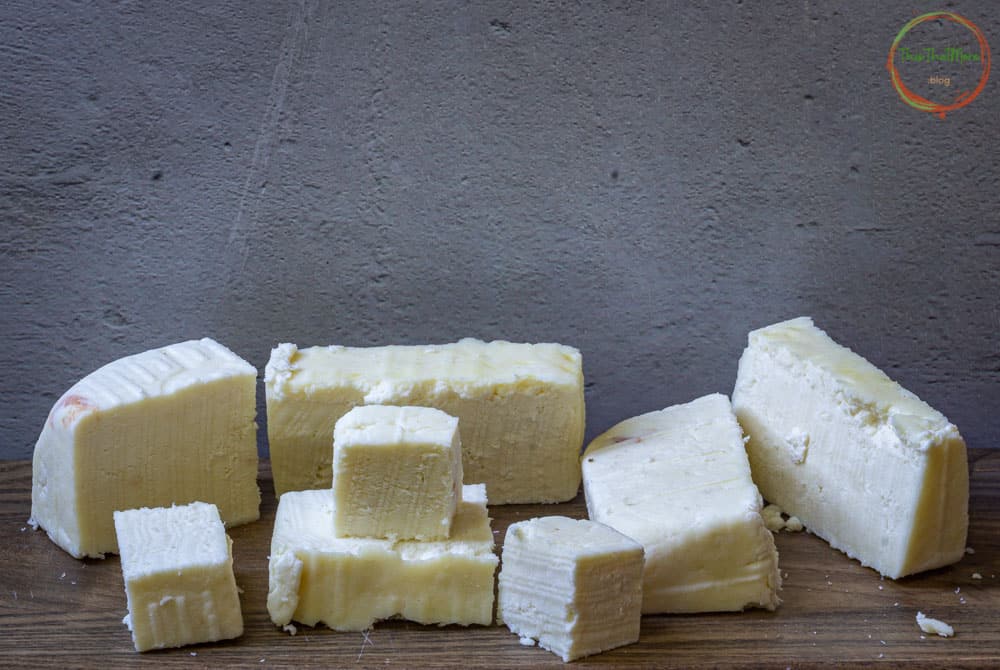
Once your homemade paneer is settled, you can store Paneer in the refrigerator and cut it into pieces when needed. Or sometimes when I want Paneer to be very soft, I store in a bowl filled with water.
You can store in a refrigerator for up to 1 week but keep changing the water.
- PANEER TIKKA
- KADAI PANEER
- ACHAARI PANEER
- PALAK PANEER
- MATAR PANEER
- BUTTER PANEER
- SHAHI PANEER
- PANEER TIKKA MASALA
Make Paneer at Home
Ingredients
- ½ gallon Whole Milk
- 2-3 tablespoon Lemon Juice or Vinegar or Curd
- 1 cup Ice cubes
Equipment
Method
- Add Milk in the Instant Pot. Mix Lemon Juice (or any other food acid) in the milk and close the lid. Pressure cook for 2 minutes with vent in the sealing position. When timer beeps, NPR (no pressure release) for 5 minutes and then Quick Release. Open the lid and add ice cubes in it.Or you can also boil milk in Instant Pot using yogurt setting. Once timer beeps & yogurt is boiled, then mix Lemon Juice (or any other food acid). Mix until milk cuddle, add more food acids (if needed).
- Add milk in the stockpot and bring it to boil. When milk is boiled add Lemon Juice or Vinegar to it and mix. Once it starts to curdle, switch off the stove and add ice cubes to it.(Note: Add little food acids at one time, if milk doesn't curdle then add more and mix. Always add food acids in the boiled milk).
- Take a bowl and place a strainer on the bowl. And line the strainer with the muslin cloth. Now pour the mixture in the strainer lined with the muslin cloth.
- Carefully take all the corners of the muslin cloth together, this way the whey (greenish liquid) will be strained out and milk solids will be separated. Then rinse it in the water a couple of times and squeeze all the water out.(Note: You can use the strained Whey in cooking lentils or making dough, or wherever you need to add liquid. It's very healthy and nutritious).
- Then put it back in the strainer and leave it for 15- 20 minutes, so that any excess liquid (if left) will be drained out.
- Secure all the edges together and transfer in a plate and form round shape and allow it to settle for 2-3 hours. Or you can also mold in the Tofu Press by wrapping in muslin cloth first.
- Put a heavy utensil over the muslin cloth to settle the homemade Paneer. I have used cast iron and put heavy mortar pestle in it. You can fill the pot with water and put it over the muslin cloth to set the paneer.
- Remove the cloth and you will get a round block of homemade paneer. It’s normal if the block of paneer has a little dent. You can store in the refrigerator and cut in pieces when needed.
Notes
How to make soft paneer at home - tips to remember:
- To make soft paneer at home, use full cream or whole milk. This will yield in softer pieces. If you use toned or skimmed milk, Paneer will be less in quantity and will not be that soft in texture.
- You can use vinegar, lemon juice, curd, buttermilk, citric acid, etc to curdle the milk.
- Do wash the milk solids in muslin cloth a couple of times.
- Put a heavy weight over the homemade paneer for and leave it for 3-4 hours. Then refrigerate and use as needed.
- Leftover whey is very healthy so do not throw it away. In fact consume in your diet in smoothies, or soup, etc.
Nutrition
Tried this recipe?
Mention @chopthegreens or tag #chopthegreens!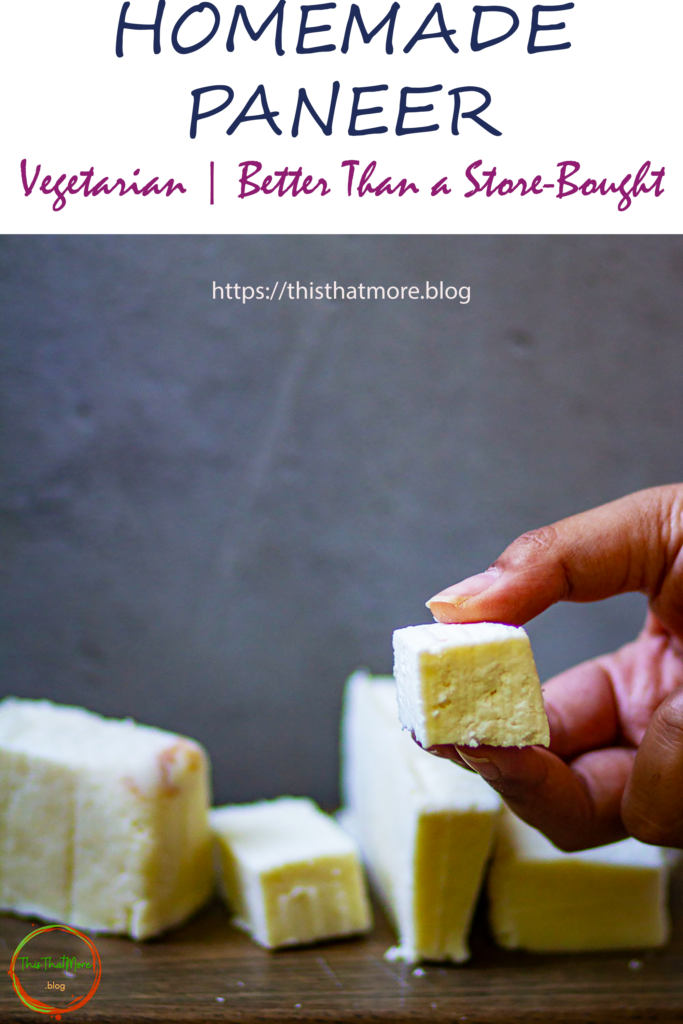


Suzie says
So easy and perfect! Thanks for the recipe!
Mary H. says
I looked at the nutrition info on your recipe, and the serving size is listed as 1 gm. Is that a typo? I think 28 gm is an oz. which would make the serving size very tiny.
SunGari says
Hi...there was some issue with the nutritional level. Updated it & I hope it works for you!