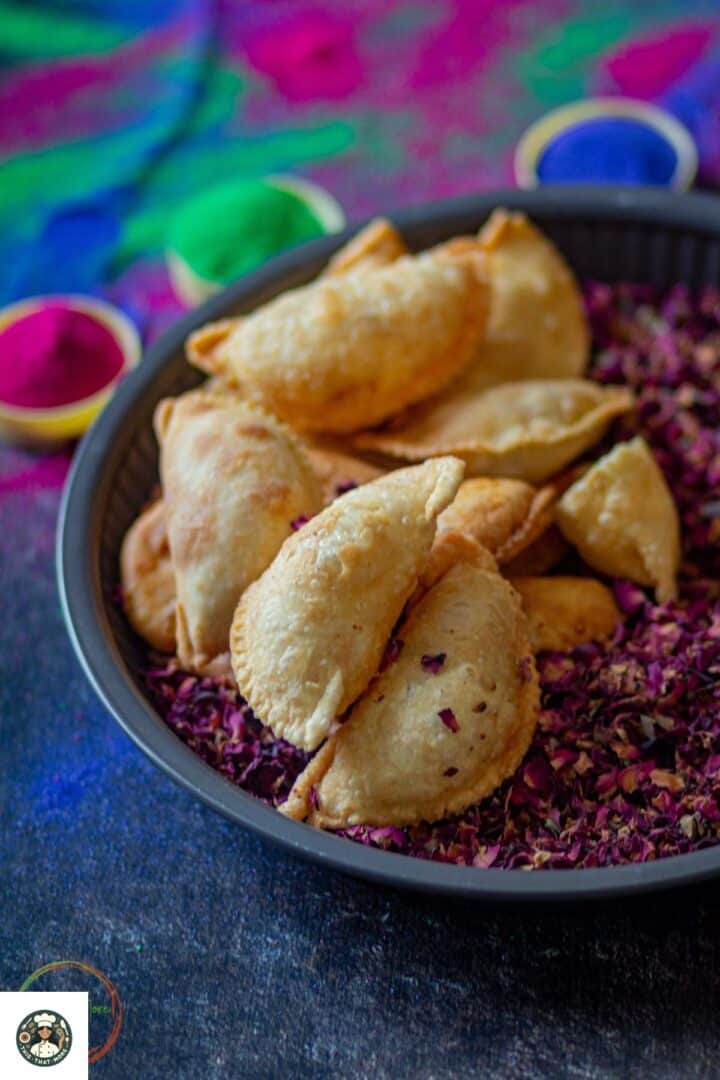
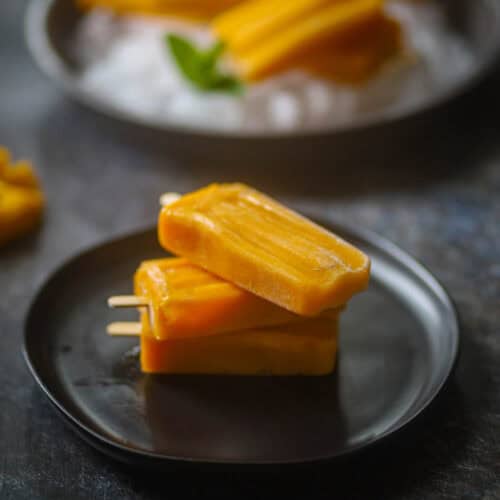
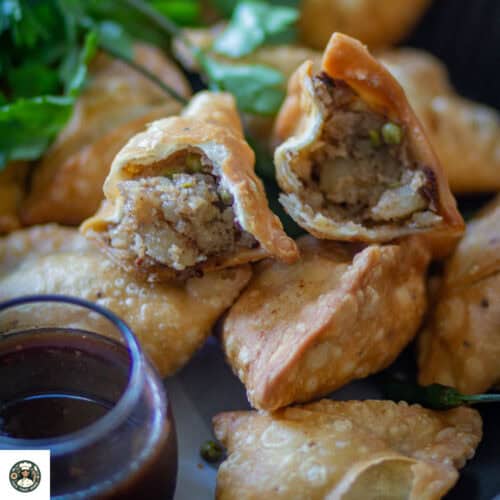
Gujiya is a crispy, flaky Indian sweet dumpling filled with a delicious mixture of khoya (mawa), dry fruits, and coconut, deep-fried until golden. This traditional Gujiya recipe is especially popular during Holi and Diwali, making it a must-have festive treat in many Indian homes.
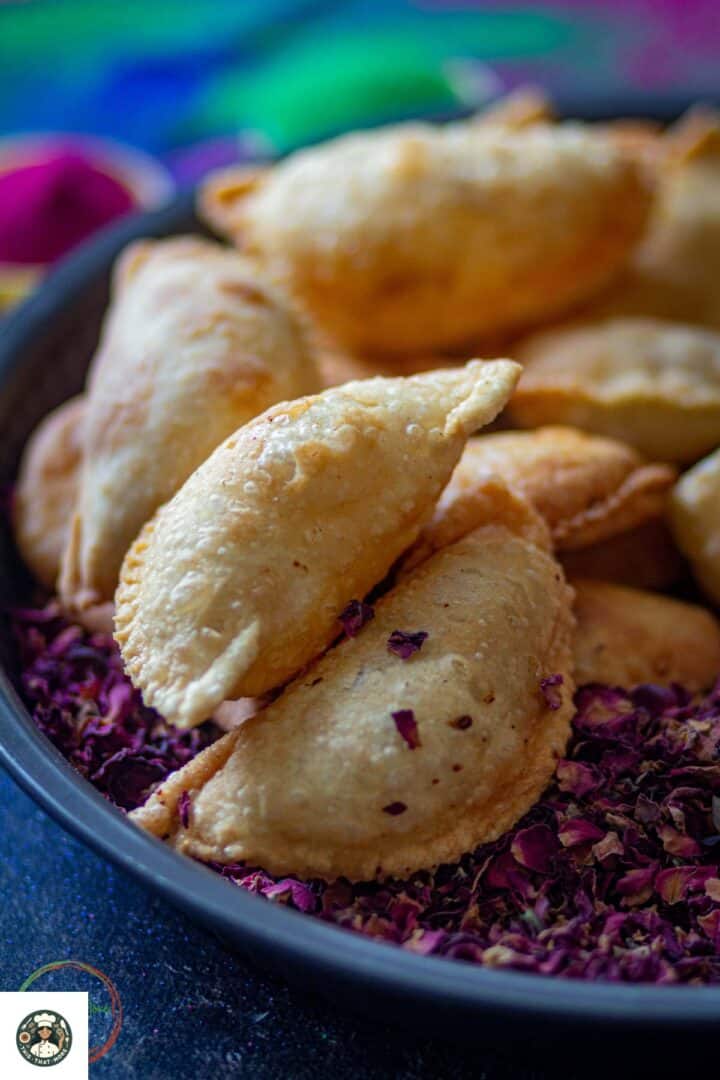
Gujiya Recipe with coconut filling is shaped into half-moons using hands or a mold, sealed with water or flour paste, and fried until crisp. Once cooled, it can be dipped in sugar syrup for a glossy finish or enjoyed as-is.
This easy-to-follow Khoya Gujiya recipe requires just a few pantry staples and can be customized with your choice of fillings. For a healthier twist, you can also bake or air fry them.
Try these Indian street food recipes that are popular during Holi season, including dahi bhalla chaat, samosa, bread pakora, and vada pav. Also, try my Thandai recipe, which I make using homemade Thandai powder, which is totally irresistible.
Jump to:
WHAT IS GUJIYA?
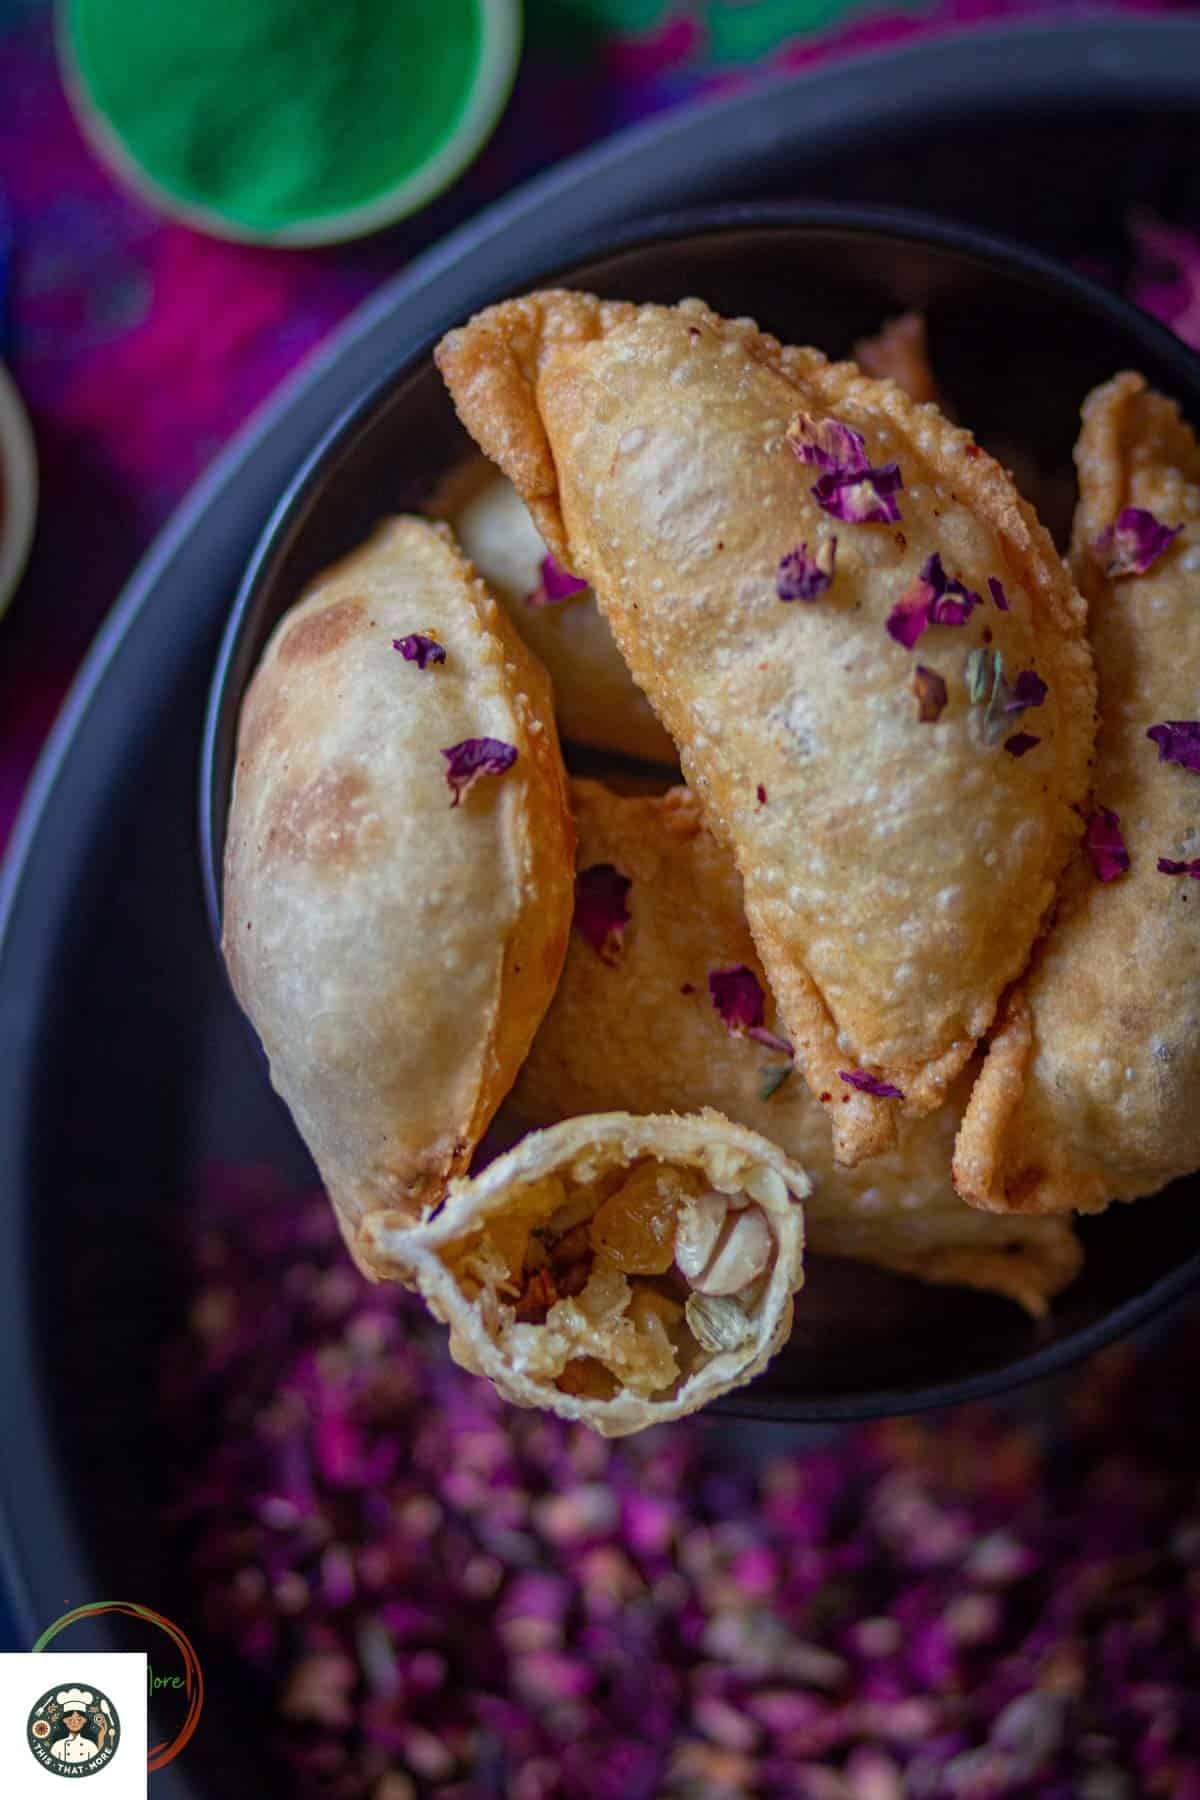
Gujiya is a traditional Indian sweet dumpling with a crispy outer shell and a rich, sweet filling. The filling usually consists of khoya (mawa), dry fruits, grated coconut, cardamom, and sometimes semolina (sooji) or sugar.
Gujiya is shaped like a half-moon and is either deep-fried until golden brown or baked for a healthier version. In some regions, it's also dipped in sugar syrup for an extra sweet touch.
It is most commonly prepared during festivals like Holi, Diwali, and Teej, symbolizing celebration and joy. While North India favors the khoya-based version, Bengal's "Karanji" or Goa's "Nevri" have similar variations with local twists.
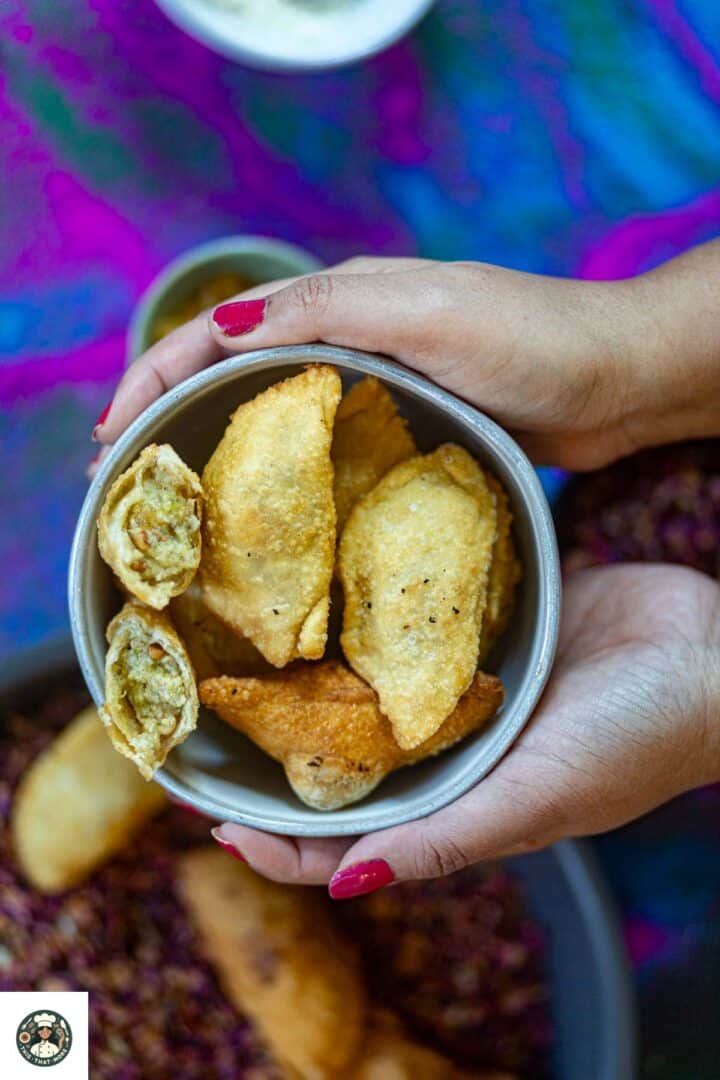
This festive delicacy is loved for its crunchy texture on the outside and melt-in-the-mouth filling on the inside, making it a favorite among sweet lovers across India.
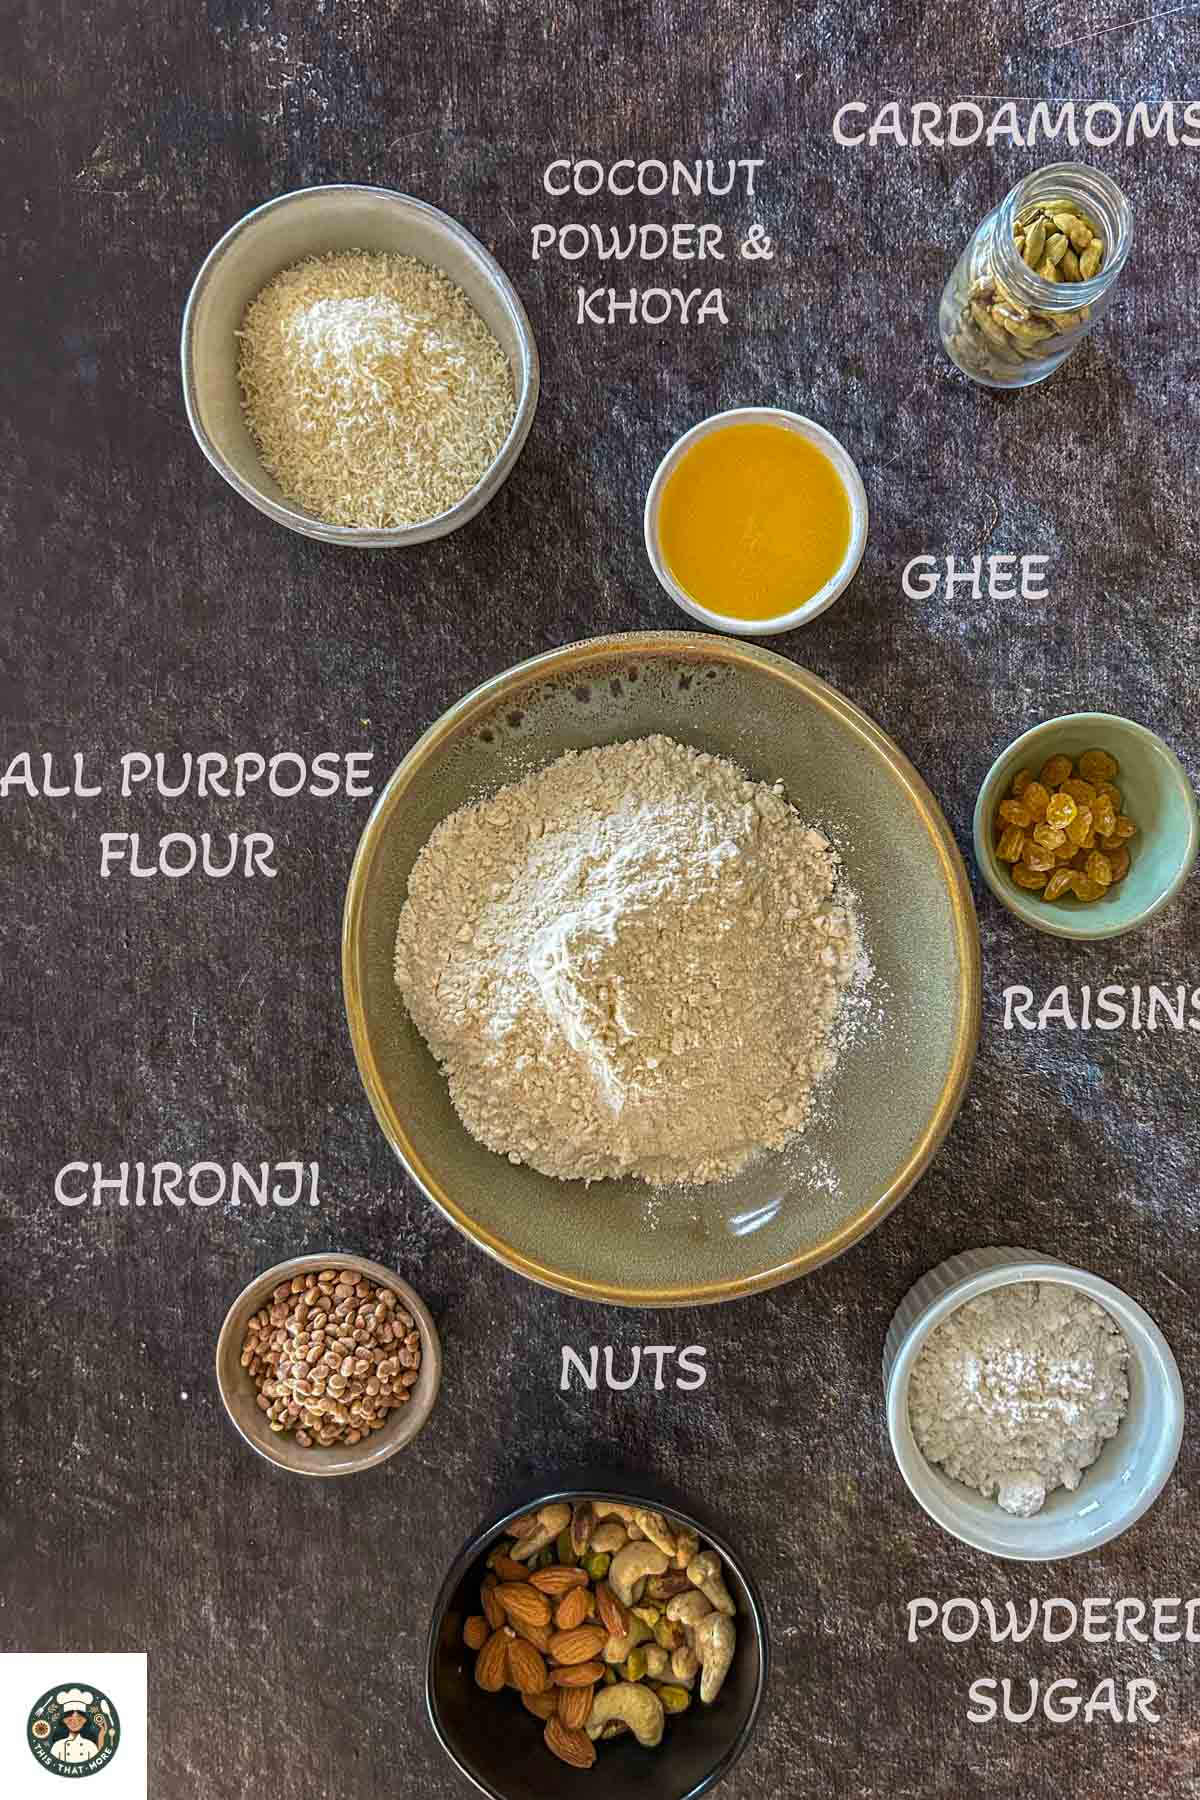
INGREDIENT NOTES
- FLOUR: Gujiya is usually made with all-purpose flour, which tastes great. However, if needed, you can still use wheat flour, almond flour, etc.
- GHEE: Ghee (clarified butter) is added to flour. You can also add unsalted butter or olive oil.
- WATER: Room-temperature water is added to form a dough. Add water little by little, as the dough needs to be tight.
- KHOYA: Khoya or Mawa is used for the stuffing in guijiya. You can also make khoya at home using ricotta cheese or milk powder. The recipe requires crumbled khoya.
- COCONUT POWDER: Coconut powder is added to the stuffing, giving the recipe a rich flavor.
- SUGAR: Powdered sugar/ icing sugar works best in gujiya.
- DRY FRUITS: I have used almonds, cashews, raisins, and chironji (Calumpang Nuts).
- CARDAMOM POWDER: Cardamom powder adds a nice aromatic flavor to the stuffing. You can also add fennel seeds and nutmeg powder.
- OIL: Oil is used for deep frying. You don't need a lot of oil for air-frying or baking in the oven.
INSTRUCTIONS
The recipe with ingredients and instructions is mentioned below in the Recipe Card. But you can refer here to check out the Gujiya Recipe Step-by-Step with Pictures!
Prepare The Dough:

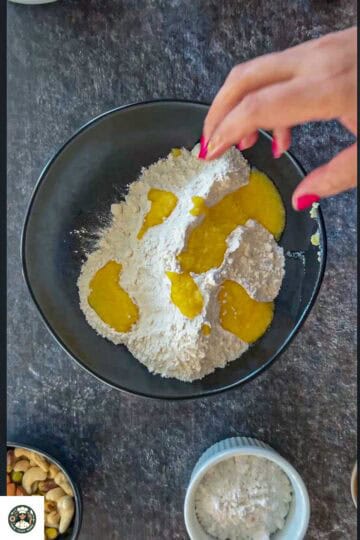
- STEP 1 -ADD FLOUR: Lightly mix all-purpose flour and Ghee.

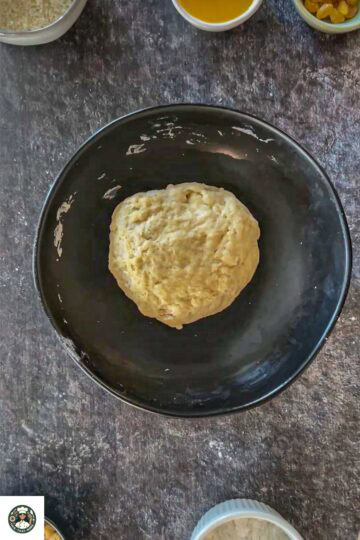
2. STEP 2 - KNEAD THE DOUGH: Add water until it forms like a dough. Do not add too much water; just add as much as needed and knead a stiff dough. Cover the bowl with damp cloth or kitchen towel and le tit rest for at least 30 minutes. Place the dough in the Instant Pot and let it sit for 30 minutes on the Yogurt setting.
Make The Filling:
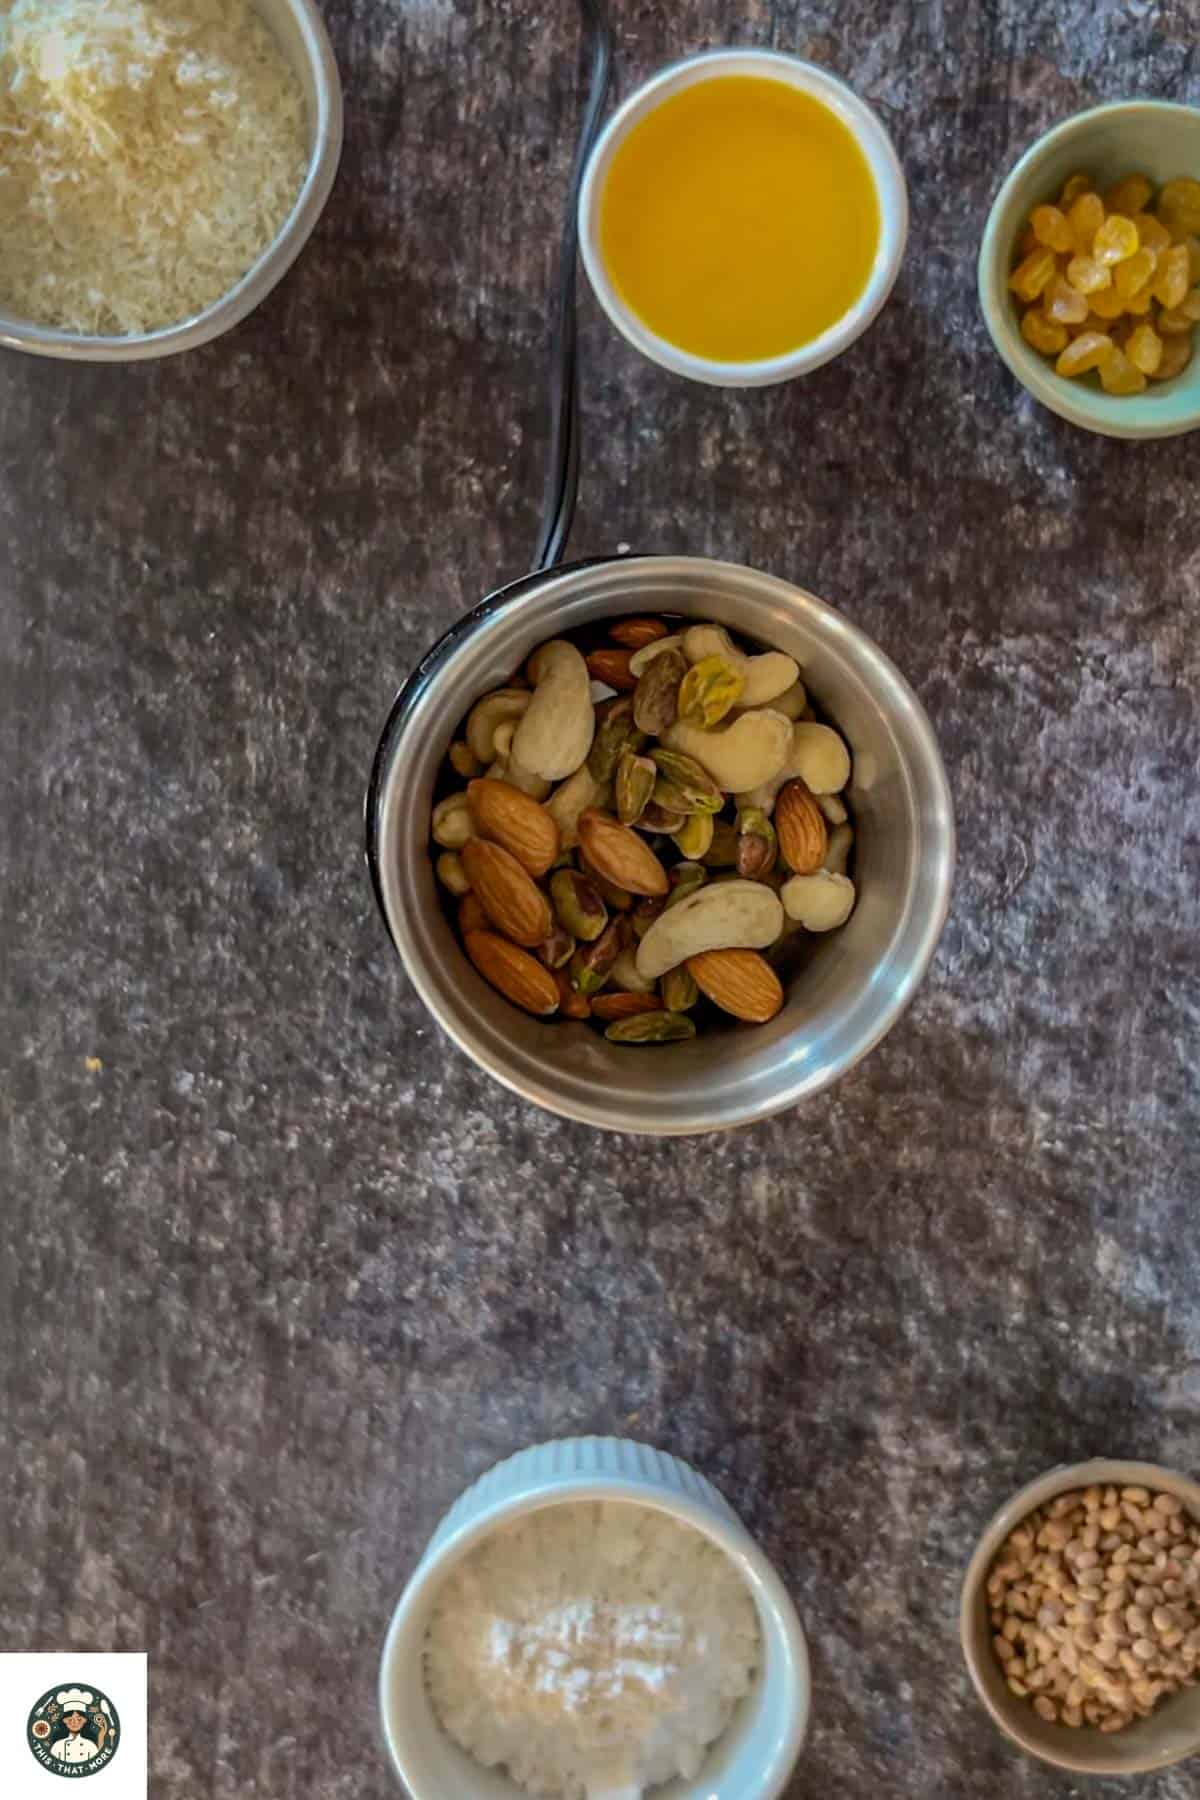
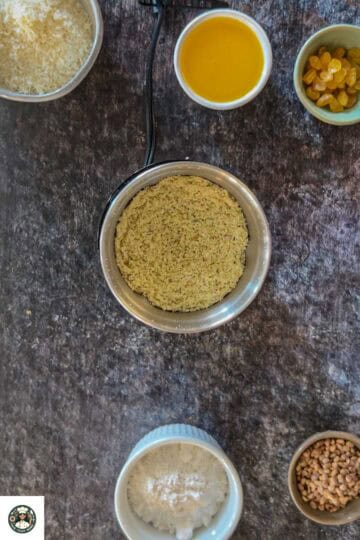
3. STEP 3 - ADD NUTS: Add nuts, including cashews, almonds, and pistachios, to a spice blender.

4. STEP 4 - GRIND THE NUTS: Grind the nuts in a spice blender until coarsely ground.
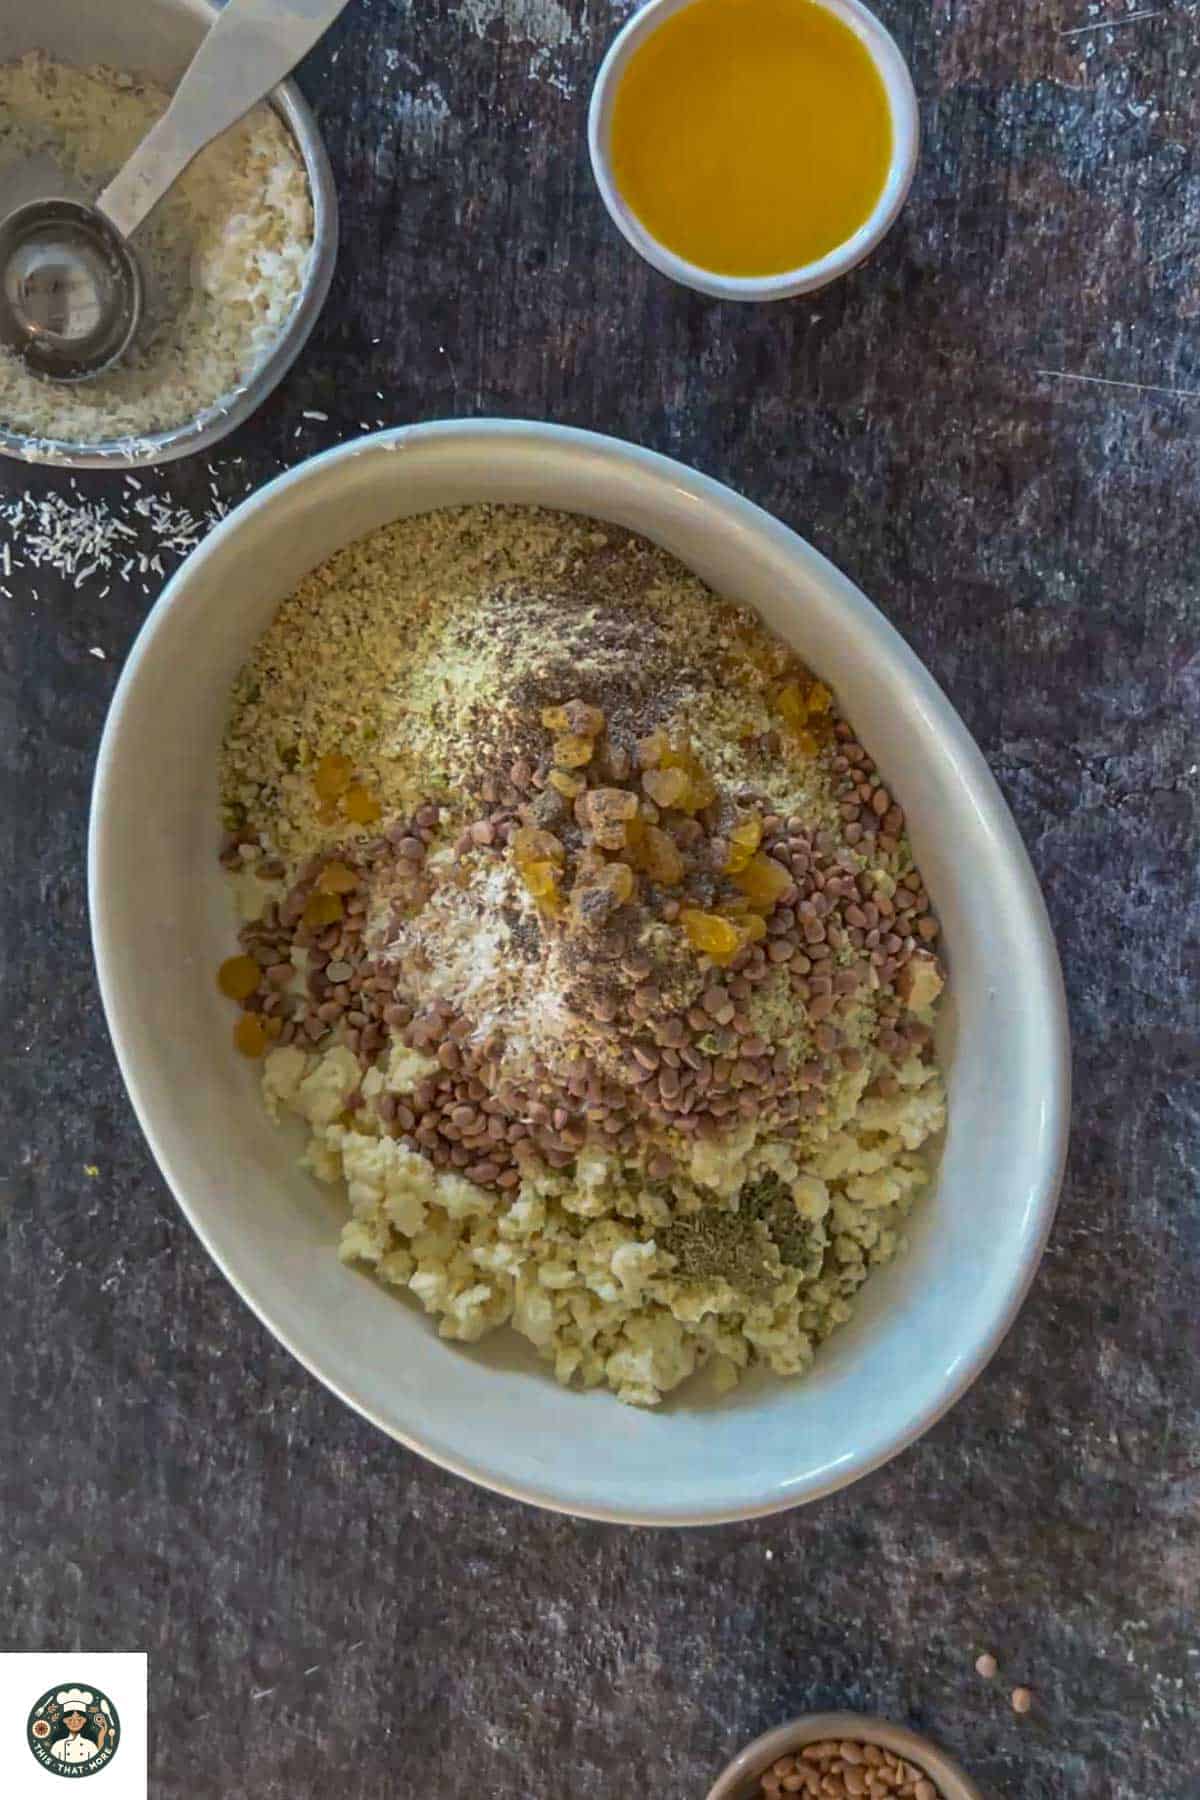
5. STEP 5 - ADD INGREDIENTS: In a bowl, add all the stuffing ingredients, including Khoya (milk solids), Coconut Powder, Powdered Sugar, Nuts Powder, Raisins, Chironji, Cardamom Powder, and Fennel seeds Powder.
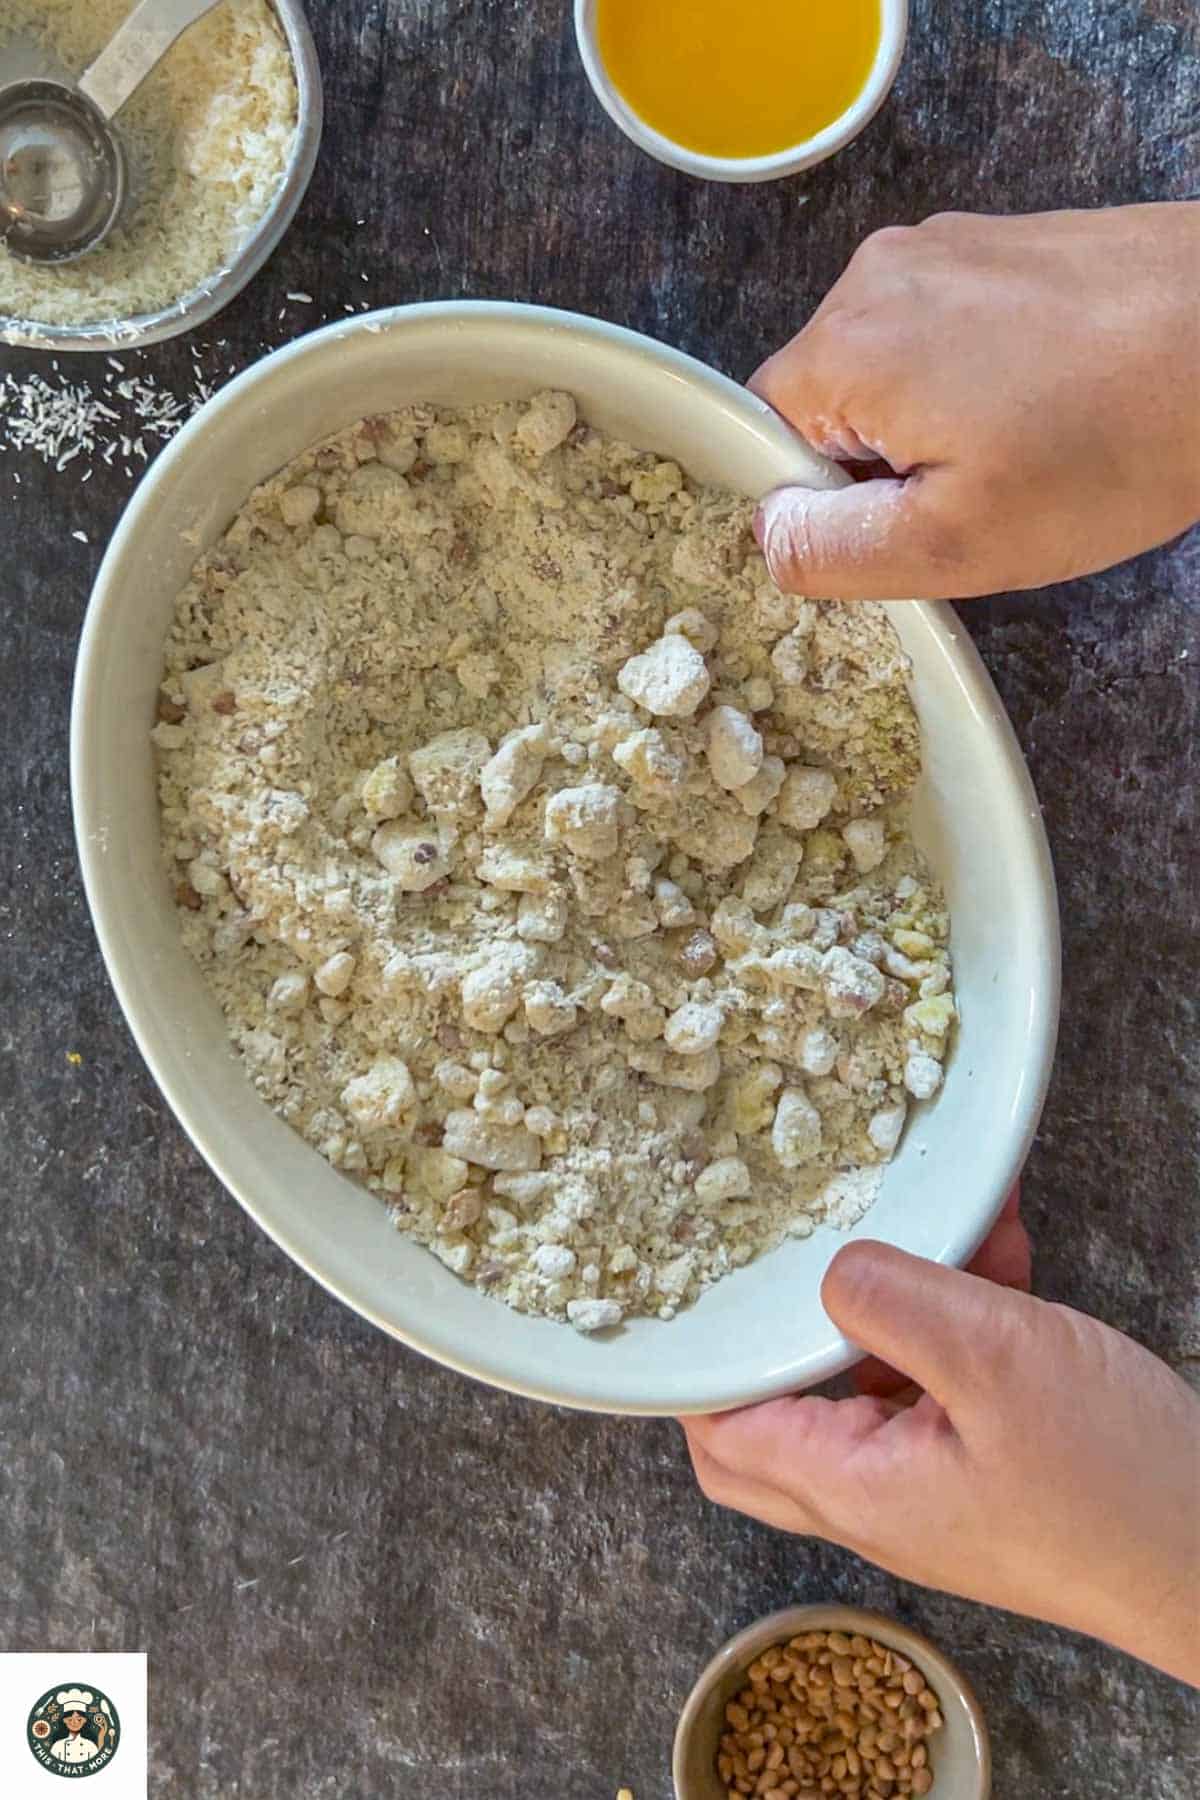
6. STEP 6 - MIX LIGHTLY: Mix all the ingredients using your finger or spoon until well combined.
Shape The Gujiya
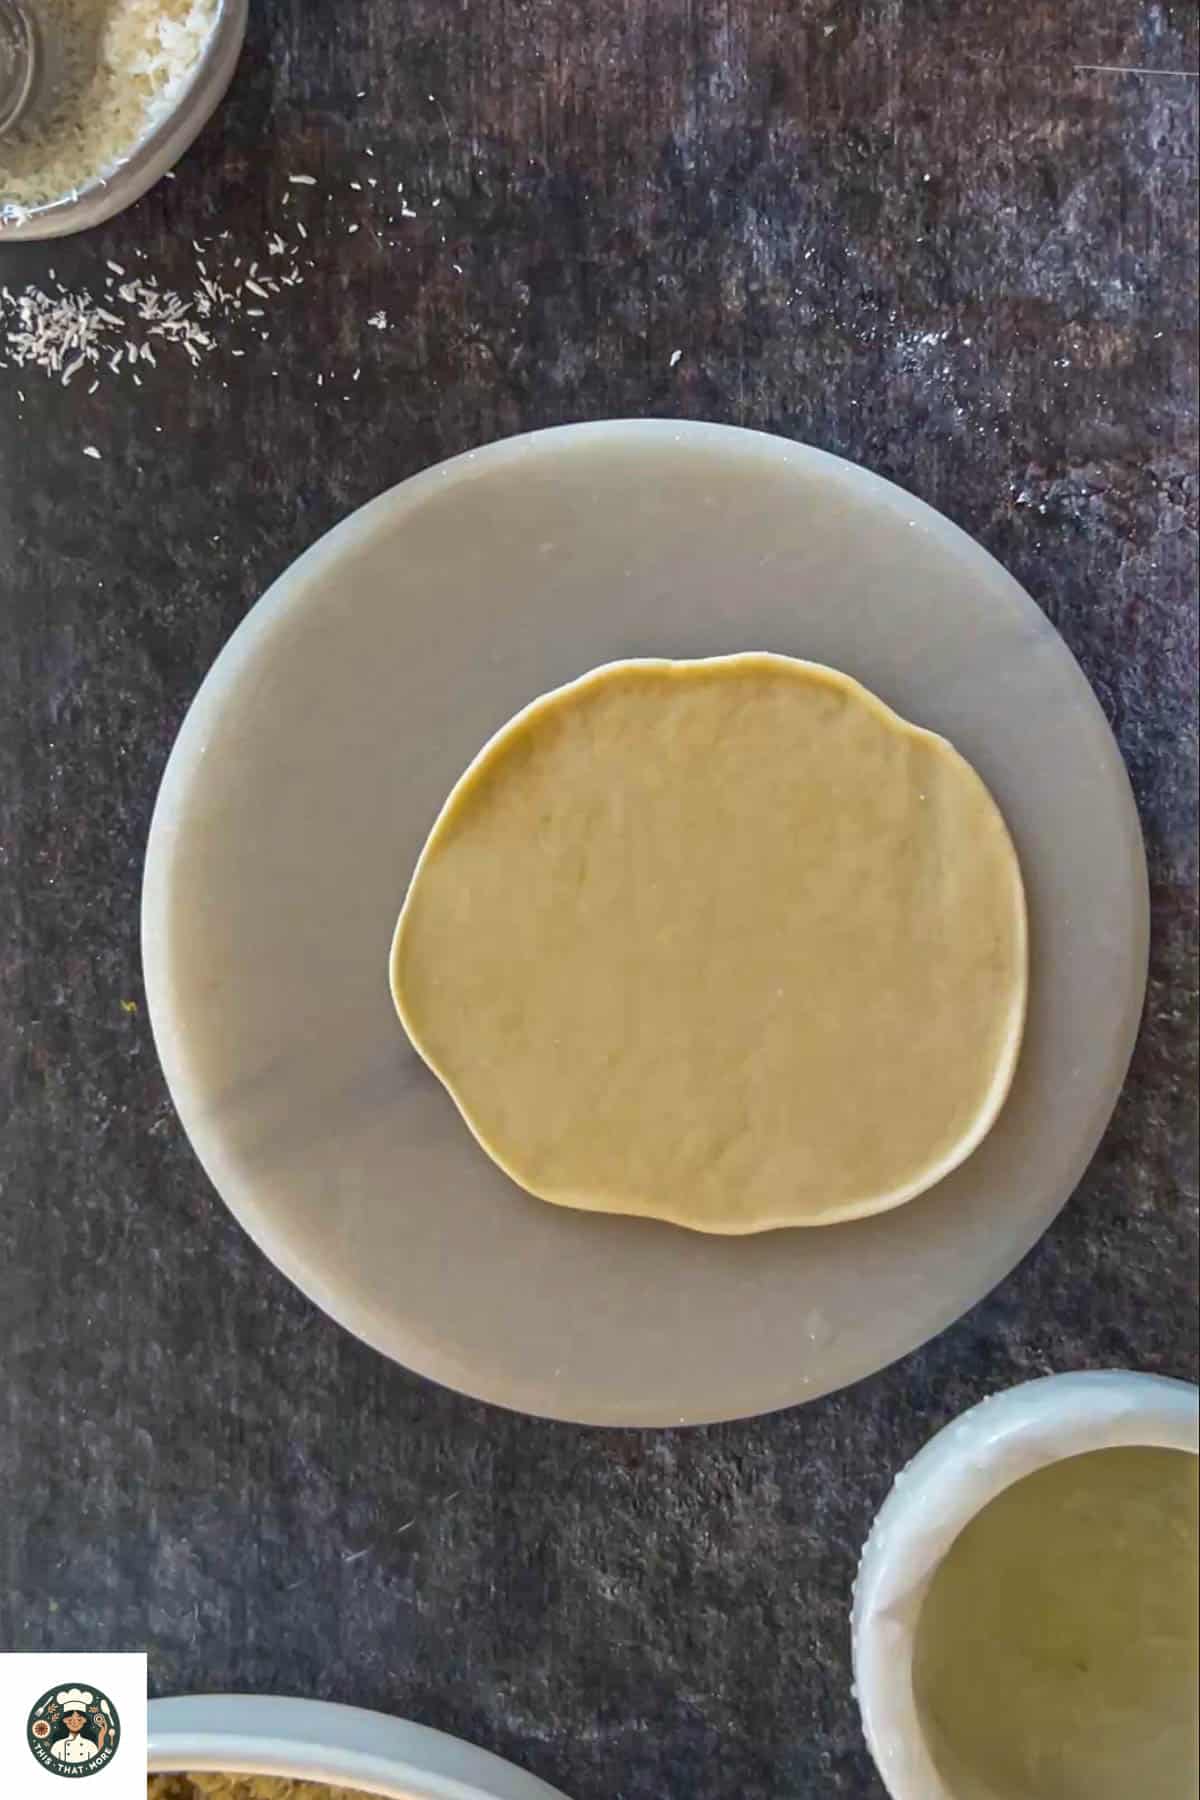
7. STEP 7 - ROLL THE DOUGH: Take a ball-shaped piece of dough and shape it into a ball. Flatten it using a rolling pin until it is flat and ½ inch in thickness.
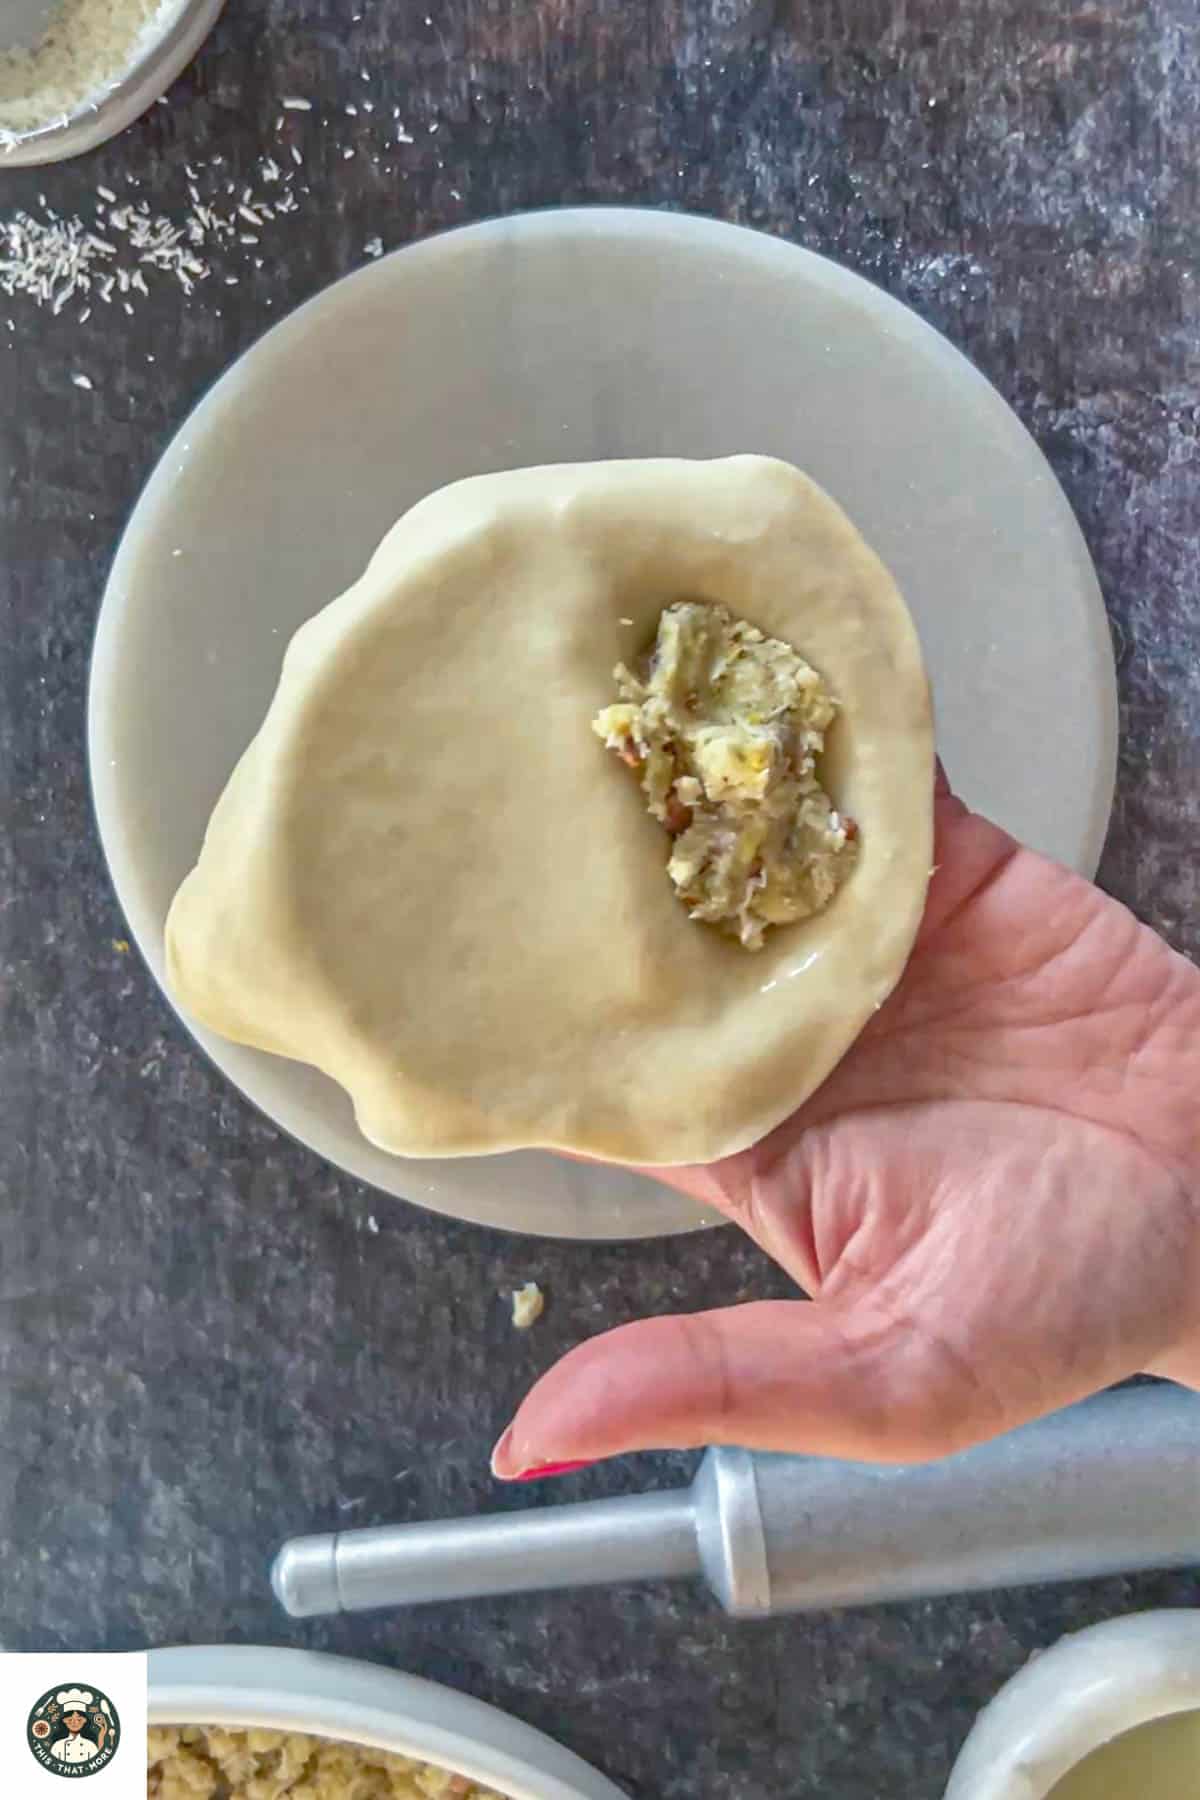
8. STEP 8 - ADD STUFFING: Add 1 tablespoon of stuffing to the rolled dough.
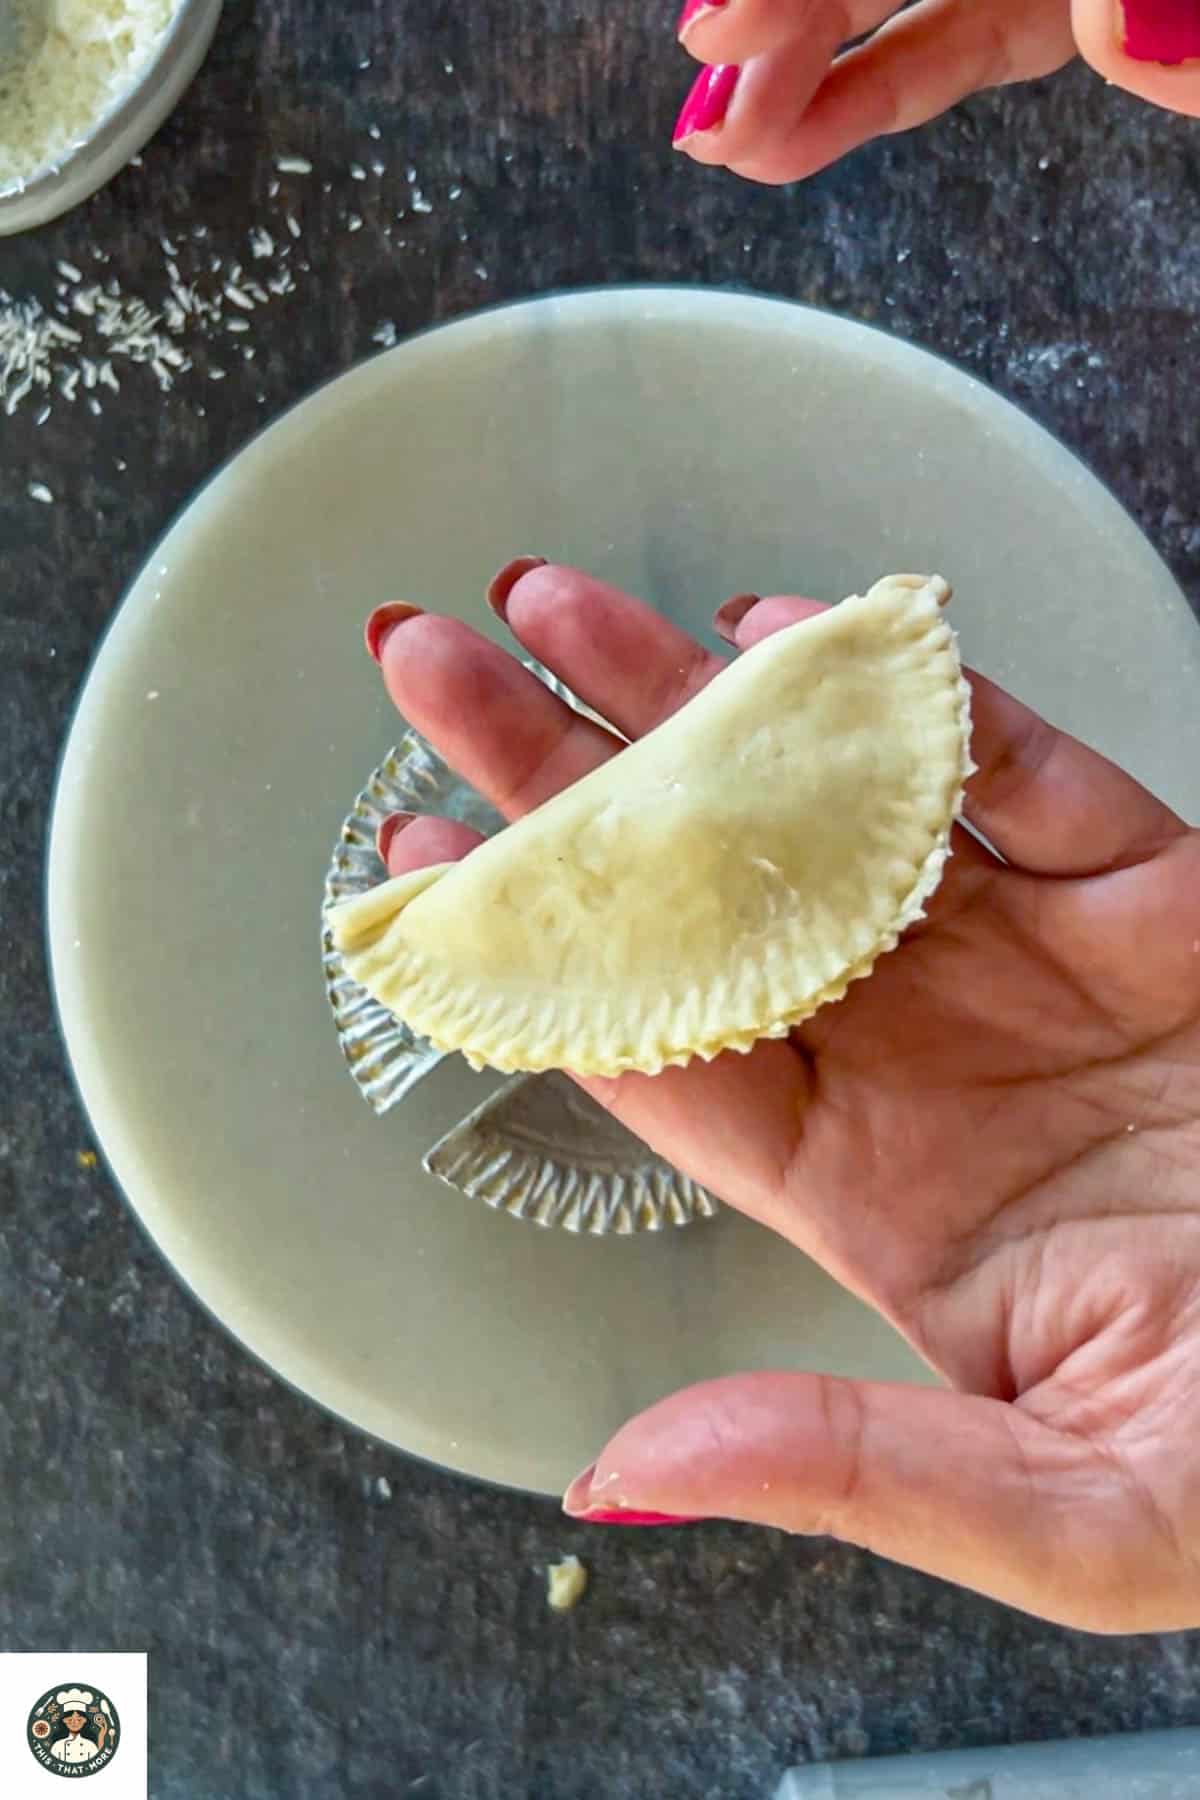
9. STEP 9 - SHAPING WITH MOLD: Add water to the edges once you add the stuffing. Close the mold tightly so the edges are correctly sealed and shaped like a half moon. Remove the gujiya from the mold and repeat the process for the rest of the dough.
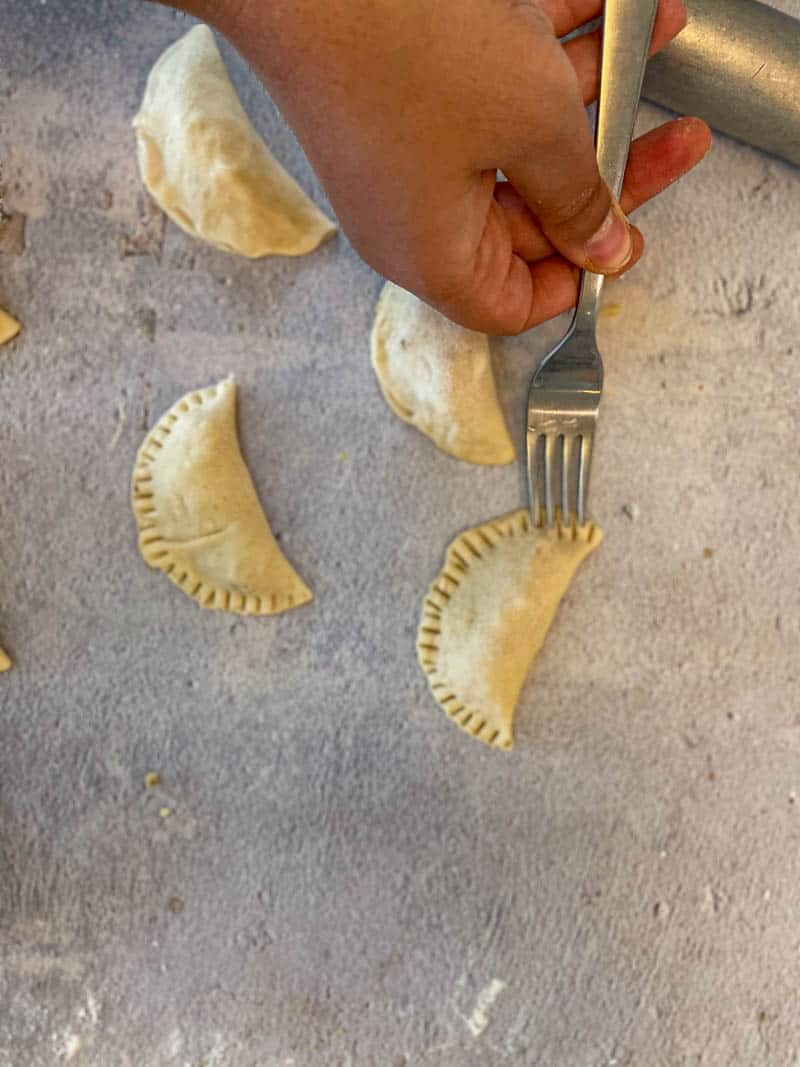
10. STEP 10 - SHAPING WITHOUT MOLD: Add water to the edges once you add the stuffing. Shape the gujiya into a half-moon and make a pattern on the edges using a fork.
Fry The Gujiya
Frying: Add oil to the frying pan or Kadai and let it heat for 5 minutes. Then, place the gujiya in the pan, and cook it at medium-low heat, being careful not to overcrowd the pan.
Baking: Place the gujiya on a baking tray and brush it with oil. Bake in the preheated oven for 20-25 minutes at 350°F.
Air-Frying: Preheat the air fryer for 3 minutes. Brush some oil on gujiyas and place them in an air fryer basket. Air fry at 360°F for 8-10 minutes.
EXPERT TIPS
- Use Ghee as moin (Fat)in Dough: Rub hot Ghee into the flour until it resembles breadcrumbs. This step (called moin) is crucial for a flaky outer crust.
- Rest the dough: After kneading, let the dough rest for at least 30 minutes under a damp cloth. This makes the dough soft and easy to roll without cracking.
- Don't Overstuff: Use just enough filling to seal the Gujiya properly. Overstuffing can cause them to burst while frying, leading to oil contamination.
- Seal Well: Seal the edges firmly using water, flour paste, pinching, and folding. You can also use a Gujiya mould for a neat shape and a tight seal.
- Always Fry on Medium Heat: Always fry on medium to low heat for even cooking and a crispy texture. High heat will brown the outside too quickly and leave the inside uncooked.
- Use Fresh Khoya: If using store-bought khoya, sauté it for a few minutes to remove moisture and enhance flavor. Avoid soggy khoya.
- Cool Completely before Storing: Let Gujiyas cool thoroughly before storing in an airtight container to retain their crispness.
These expert tips will help you make perfect festive Gujiya that are crisp on the outside and sweet, rich, and aromatic on the inside!
STORAGE
- Cool completely before storing: Always let the Gujiya cool to room temperature. This prevents moisture buildup and fogginess.
- Use an Airtight Container: Store in a dry, airtight container (preferably a steel or glass box). Avoid plastic containers if the Gujiya is still slightly warm.
- Layer with Butter Paper: If stacking multiple layers, place a sheet of butter paper or paper towel between each layer to prevent them from sticking and breaking.
- Keep in a Dry Place: Store at room temperature in a cool, dry area. Avoid humid places to prevent the crust from turning soft.
FAQS
Yes! For a healthier version, you can bake Gujiya at 180°C (350°F) for 20–25 minutes or air fry until golden. Brush with Ghee for extra crispness.
This usually happens due to overfilling or improper sealing. Seal the edges well with water or flour paste; don't overstuff the filling.
Yes! You can use roasted sooji (semolina) with sugar, coconut, and nuts as a khoya substitute. It's equally delicious and has a longer shelf life.
Yes! Grated Jaggery can be used as a natural sweetener. Just ensure the filling is dry and moisture-free.
They are similar! While Gujiya is popular in North India, Karanji (Maharashtra) and Nevri (Goa) are regional variations with slightly different fillings.
Gujiya Recipe | Mawa Gujiya Recipe

Video
Ingredients
- 2 cups All-purpose flour
- 4 tablespoon Ghee (clarified butter) or unsalted butter or olive oil
- ¾ cup Water or as needed
- 1 cup Khoya or Mawa
- ¾ cup Powder Sugar
- 5 tablespoon Coconut Powder
- ½ cups Nuts almonds, cashews, pistachios
- 2 tablespoon Golden Raisins
- 2 tablespoon Chironji
- ½ teaspoon Cardamom Powder
- ½ teaspoon Fennel Seeds/ Powder
- Oil for frying
Equipment
Method
- Lightly mix all-purpose flour and ghee in a bowl. Slowly add water until it forms like a dough. Do not add too much water; just add as much as needed and knead a stiff dough.2 cups All-purpose flour, 4 tablespoon Ghee (clarified butter) or unsalted butter or olive oil, ¾ cup Water or as needed

- Cover the bowl with a damp cloth or kitchen towel and let it rest for at least 30 minutes. Place the dough in the Instant Pot and Cover with the lid. Press the Yogurt setting and let the dough rest for at least 30 minutes at the low setting.
- Add nuts, including cashews, almonds, and pistachios, to a spice blender and grind until coarsely ground.½ cups Nuts almonds, cashews, pistachios
- In a bowl, add all the stuffing ingredients, including Khoya (milk solids), Coconut Powder, Powdered Sugar, Nuts Powder, Raisins, Chironji, Cardamom Powder, and Fennel seeds Powder. Mix all the ingredients using your finger or spoon until well combined.1 cup Khoya or Mawa, ¾ cup Powder Sugar, 5 tablespoon Coconut Powder, 2 tablespoon Golden Raisins, 2 tablespoon Chironji, ½ teaspoon Cardamom Powder, ½ teaspoon Fennel Seeds/ Powder

- WITH MOLD: Place the small ball-shaped dough on a flat surface. Using a rolling pin, roll the dough until it is ¼-inch in size, and place the rolled dough in a gujiya mold. WITHOUT MOLD: Divide the dough into equal-sized balls. Roll each ball until it is ¼-inch in size, and cut it into a a round shape using a cookie cutter.
- WITHOUT MOLD: Now add stuffing in the middle and apply a little water on the edges. Close the edges. Make a pattern on the edges using a fork. WITH MOLD: Put 1 tablespoon of stuffing on the dough. Apply water on the edges and close the mold. Apply pressure and take out the extra dough. Open the mold and carefully remove gujiya from the mold and place on a floured surface or on a parchment paper.
- OVEN: Preheat the oven to 350°F for 10-15 minutes. Line parchment paper on the baking sheet. Place gujiyas on the baking sheet, leaving some space between them. Spray the gujiya with oil or butter. Once the oven is preheated, place the baking tray in the oven. Bake for 20-25 minutes at 350°F.AIR-FRYER: Preheat the air fryer for 3 minutes at 360°F. Once it is preheated, place the gujiyas in the air fryer basket (don't overcrowd the basket). Spray some oil or butter and air-fry for 8-10 minutes at 360°F. FRYING: Heat oil in a kadai or a frying pan at medium-low heat. Once the oil is hot, add the gujiyas. (Don't overcrowd the pan; add 3-4 gujiyas at one time.) Once one side is cooked, flip the gujiya and cook the other side. When both sides are golden in color, remove the gujiyas and place them on a paper towel.Oil for frying
- Let the gujiyas cool down and reach room temperature. then you can store them in an air-tight container. You can serve them hot or cold.
Notes
- Cool completely before storing: Always let the Gujiya cool to room temperature. This prevents moisture buildup and fogginess.
- Use an Air-Tight Container: Store in a dry, airtight container (preferably a steel or glass box). Avoid plastic containers if the Gujiya is still slightly warm.
- Layer with Butter Paper: If stacking multiple layers, place a sheet of butter paper or paper towel between each layer to prevent them from sticking and breaking.
- Keep in a Dry Place: Store at room temperature in a cool, dry area. Avoid humid places to prevent the crust from turning soft.
- Use Ghee as moin (Fat)in Dough: Always rub hot ghee into the flour until it resembles breadcrumbs. This step (called moin) is crucial for a flaky outer crust.
- Rest the dough: After kneading, let the dough rest for at least 30 minutes under a damp cloth. This makes the dough soft and easy to roll without cracking.
- Don't Overstuff: Use just enough filling to seal the Gujiya properly. Overstuffing can cause them to burst while frying, leading to oil contamination.
- Seal Well: Seal the edges firmly using water, flour paste, or pinching and folding. You can also use a Gujiya mould for a neat shape and a tight seal.
- Always Fry on Medium Heat: Always fry on medium to low heat for even cooking and a crispy texture. High heat will brown the outside too quickly and leave the inside uncooked.
- Use Fresh Khoya: If using store-bought khoya, sauté it for a few minutes to remove moisture and enhance flavor. Avoid soggy khoya.
- Cool Completely before Storing: Let Gujiyas cool thoroughly before storing in an airtight container to retain their crispness.

Amit says
Just loved this recipe that I made on Holi. It was the hit during my Holi party!