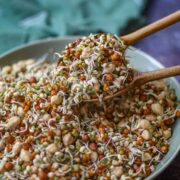
How to Make Sprouts at Home: The Ultimate 4-Way Guide
Learn how to make fresh sprouts at home using moong beans, moth beans, kala chana, or chickpeas. This simple step-by-step guide shows how to soak, rinse, and grow healthy homemade sprouts right on your kitchen counter.
Share by Email
Rate this Recipe
Ingredients
- 1 cup dried Beans (moong beans, moth beans, kala chana, or kabuli chana)
- Water for soaking and rinsing
Instructions
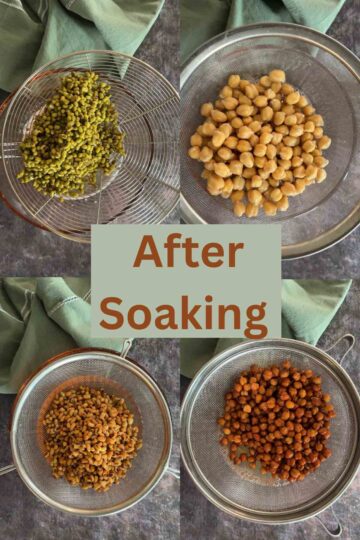
Step 1: Soak the Beans
- Place the dried beans in a bowl and cover with plenty of water.Soak for:Moong beans or moth beans: 8 hoursKala chana or kabuli chana: 12–15 hours

This softens the beans and starts the germination process.
Step 2: Drain and Rinse
- After soaking, drain the water completely and rinse the beans well with fresh water.Make sure the beans are damp but not sitting in water.
Step 3: Prepare for Sprouting
- Transfer the soaked beans to a bowl or mason jar or sprouting conatiner.Place transfer the beans in a strainer or mesh sieve placed over a bowl. Cover with a mesh lid, cloth, or loose lid so air can circulate.Keep the jar slightly tilted so any extra water can drain out.
Step 4: Keep in a Warm Place
- Place the jar in a warm spot in your kitchen.If your kitchen is cold, you can use:the oven light method: Place your jar in the oven (with the oven OFF). Turn on only the oven light. That tiny bulb creates a warm environment (around 75-80°F/25 °C) that is perfect for germination.the Instant Pot yogurt setting: Place your soaked and drained beans in a bowl inside the IP.Close the lid (vent-to-venting).Press Yogurt (Low setting) for 8-12 hours. It creates a warm, stable environment that encourages fast sprouting.
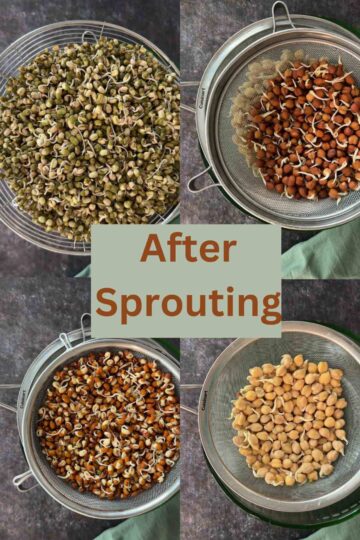
Step 5: Rinse Daily
- Rinse the beans once or twice a day, then drain them well.Within 24–48 hours, you will see small white sprout tails forming.
Step 6: Store the Sprouts
- Once the sprouts reach the desired length, transfer them to an airtight container and store in the refrigerator.Homemade sprouts stay fresh for 3–4 days.
Video
Notes
💡 Pro-Tips for Sprouting Success
- Timing your Harvest: Not sure if your beans are ready? Check my guide on How Long Do Sprouts Take to Grow? for the ideal tail length for each variety.
- Winter Sprouting: If your kitchen is chilly and your beans aren't "waking up," use my Oven Light or Instant Pot hacks to speed things up safely.
- A Note on Texture: Sprouted chickpeas can be quite firm. If you find them too tough, see my tips in "Should You Eat Sprouted Chickpeas Raw?" on how to blanch or steam them.
- Avoiding the "Smell": If your sprouts smell sour or feel slimy, don't panic. Visit the Common Mistakes and Troubleshooting sections to see if your batch can be saved.
- Meal Prep & Freshness: To keep your sprouts crunchy for up to a week, follow my specific Storage & Reheating instructions.
- Serving Ideas: From Chaat to Misal Pav, I’ve shared my favorite Easy Ways to Eat Sprouts to help you get more protein into your daily meals.
- Still have questions? Check out the FAQs for answers on "white fuzz," store-bought beans, and more.
Tried this recipe?Mention @thisthatmoreworld or tag #thisthatmore!
For other Food Videos!Check out ThisThatMore!
